Week 12: Wildcard week
This week we got to choose what we wanted to do! I decided to do two projects: one was the vacuum forming project. The other was composites.
Vacuum forming
This was what the machine looked like.
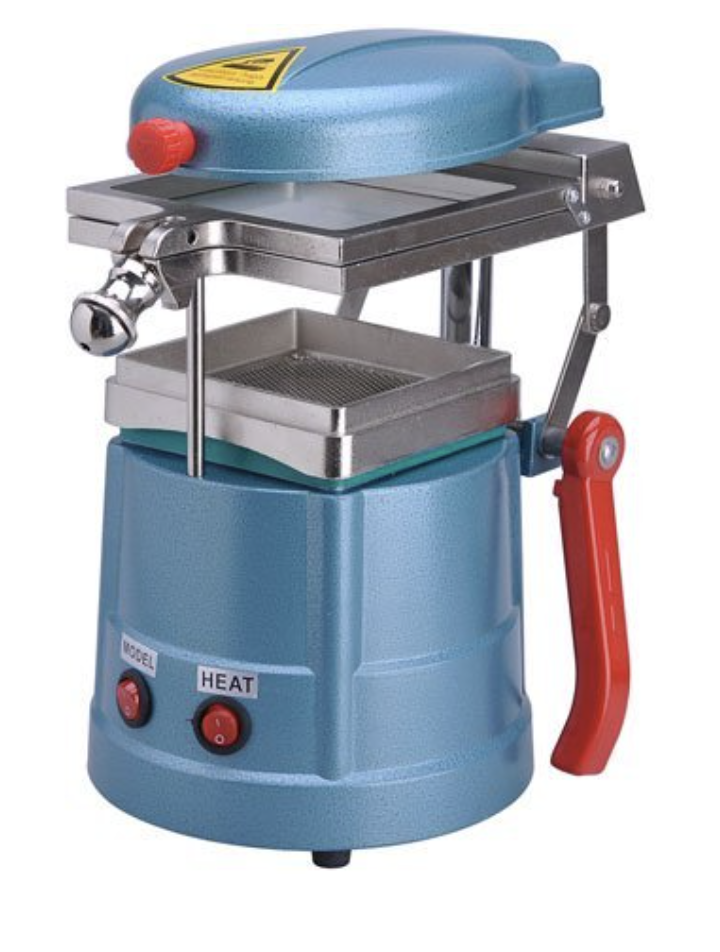
Basically, I cut a piece of this clear plastic and clamped it between the metal square (the metal square displayed at the top of the machine in the picture above). Then, I used the red handle to ensure the metal square attached to the plastic is near the top of the machine. Then, I turned on the heat. The heat slowly melts the plastic. While the heat is warming the plastic, I placed the laser-cutting tool (the below picture is what it looks like) onto a piece of wood. Placing it ontop of the wood before putting it on top of the metal balls makes it easier to peel later on.
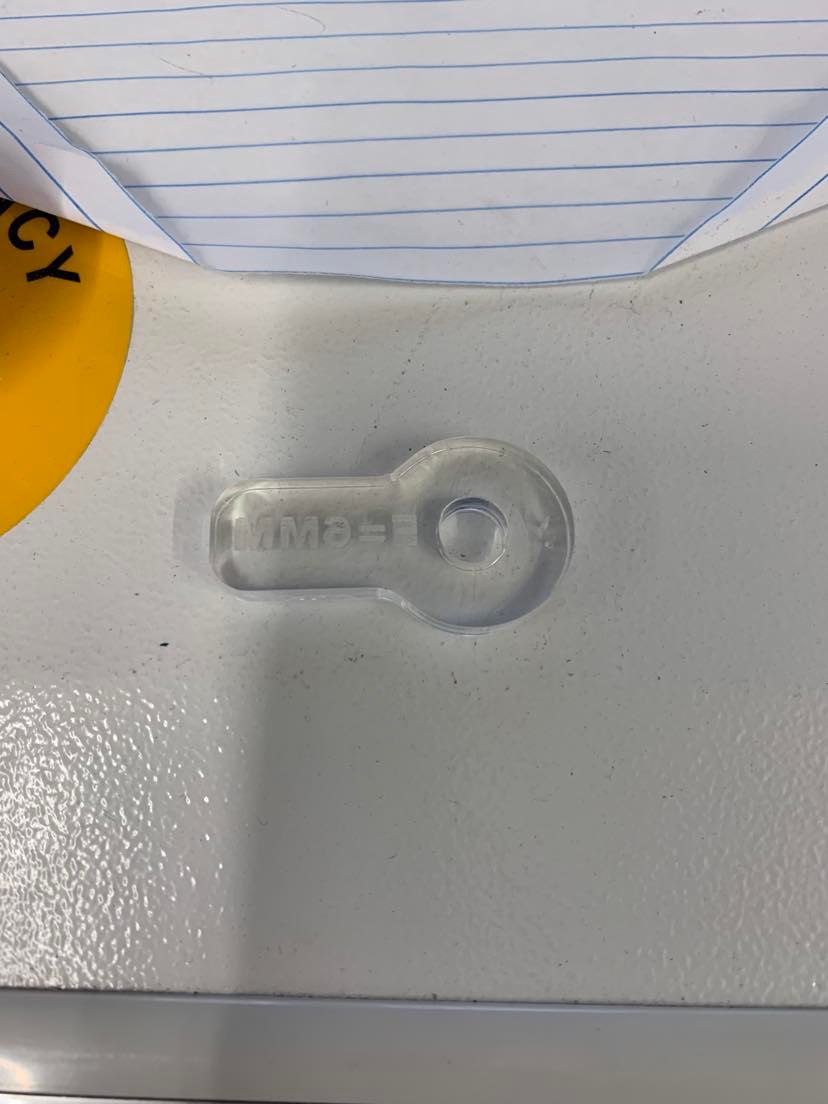
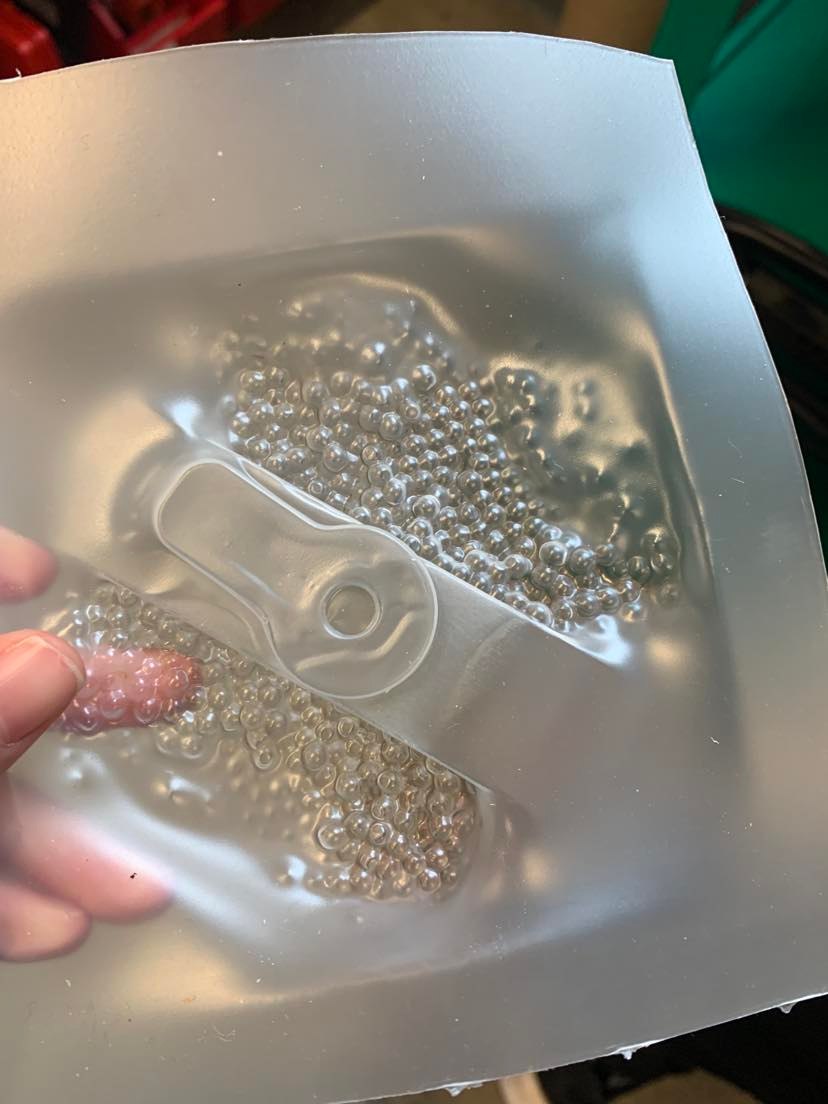
Once the plastic becomes translucent, I lower the metal square-plastic combo down to go over the laser-cutting tool. I then press the vacuum button and watch as the plastic molds over the laser cutting tool. I then take thhe plastic formed around the laser cutting tool out and pop out the laser cutting tool. Here is what it looks like!
Bonus: composites
I also worked on composites! Essentially, in composites, you are able to combine multiple materials to make a composite piece that is tensile and strong.
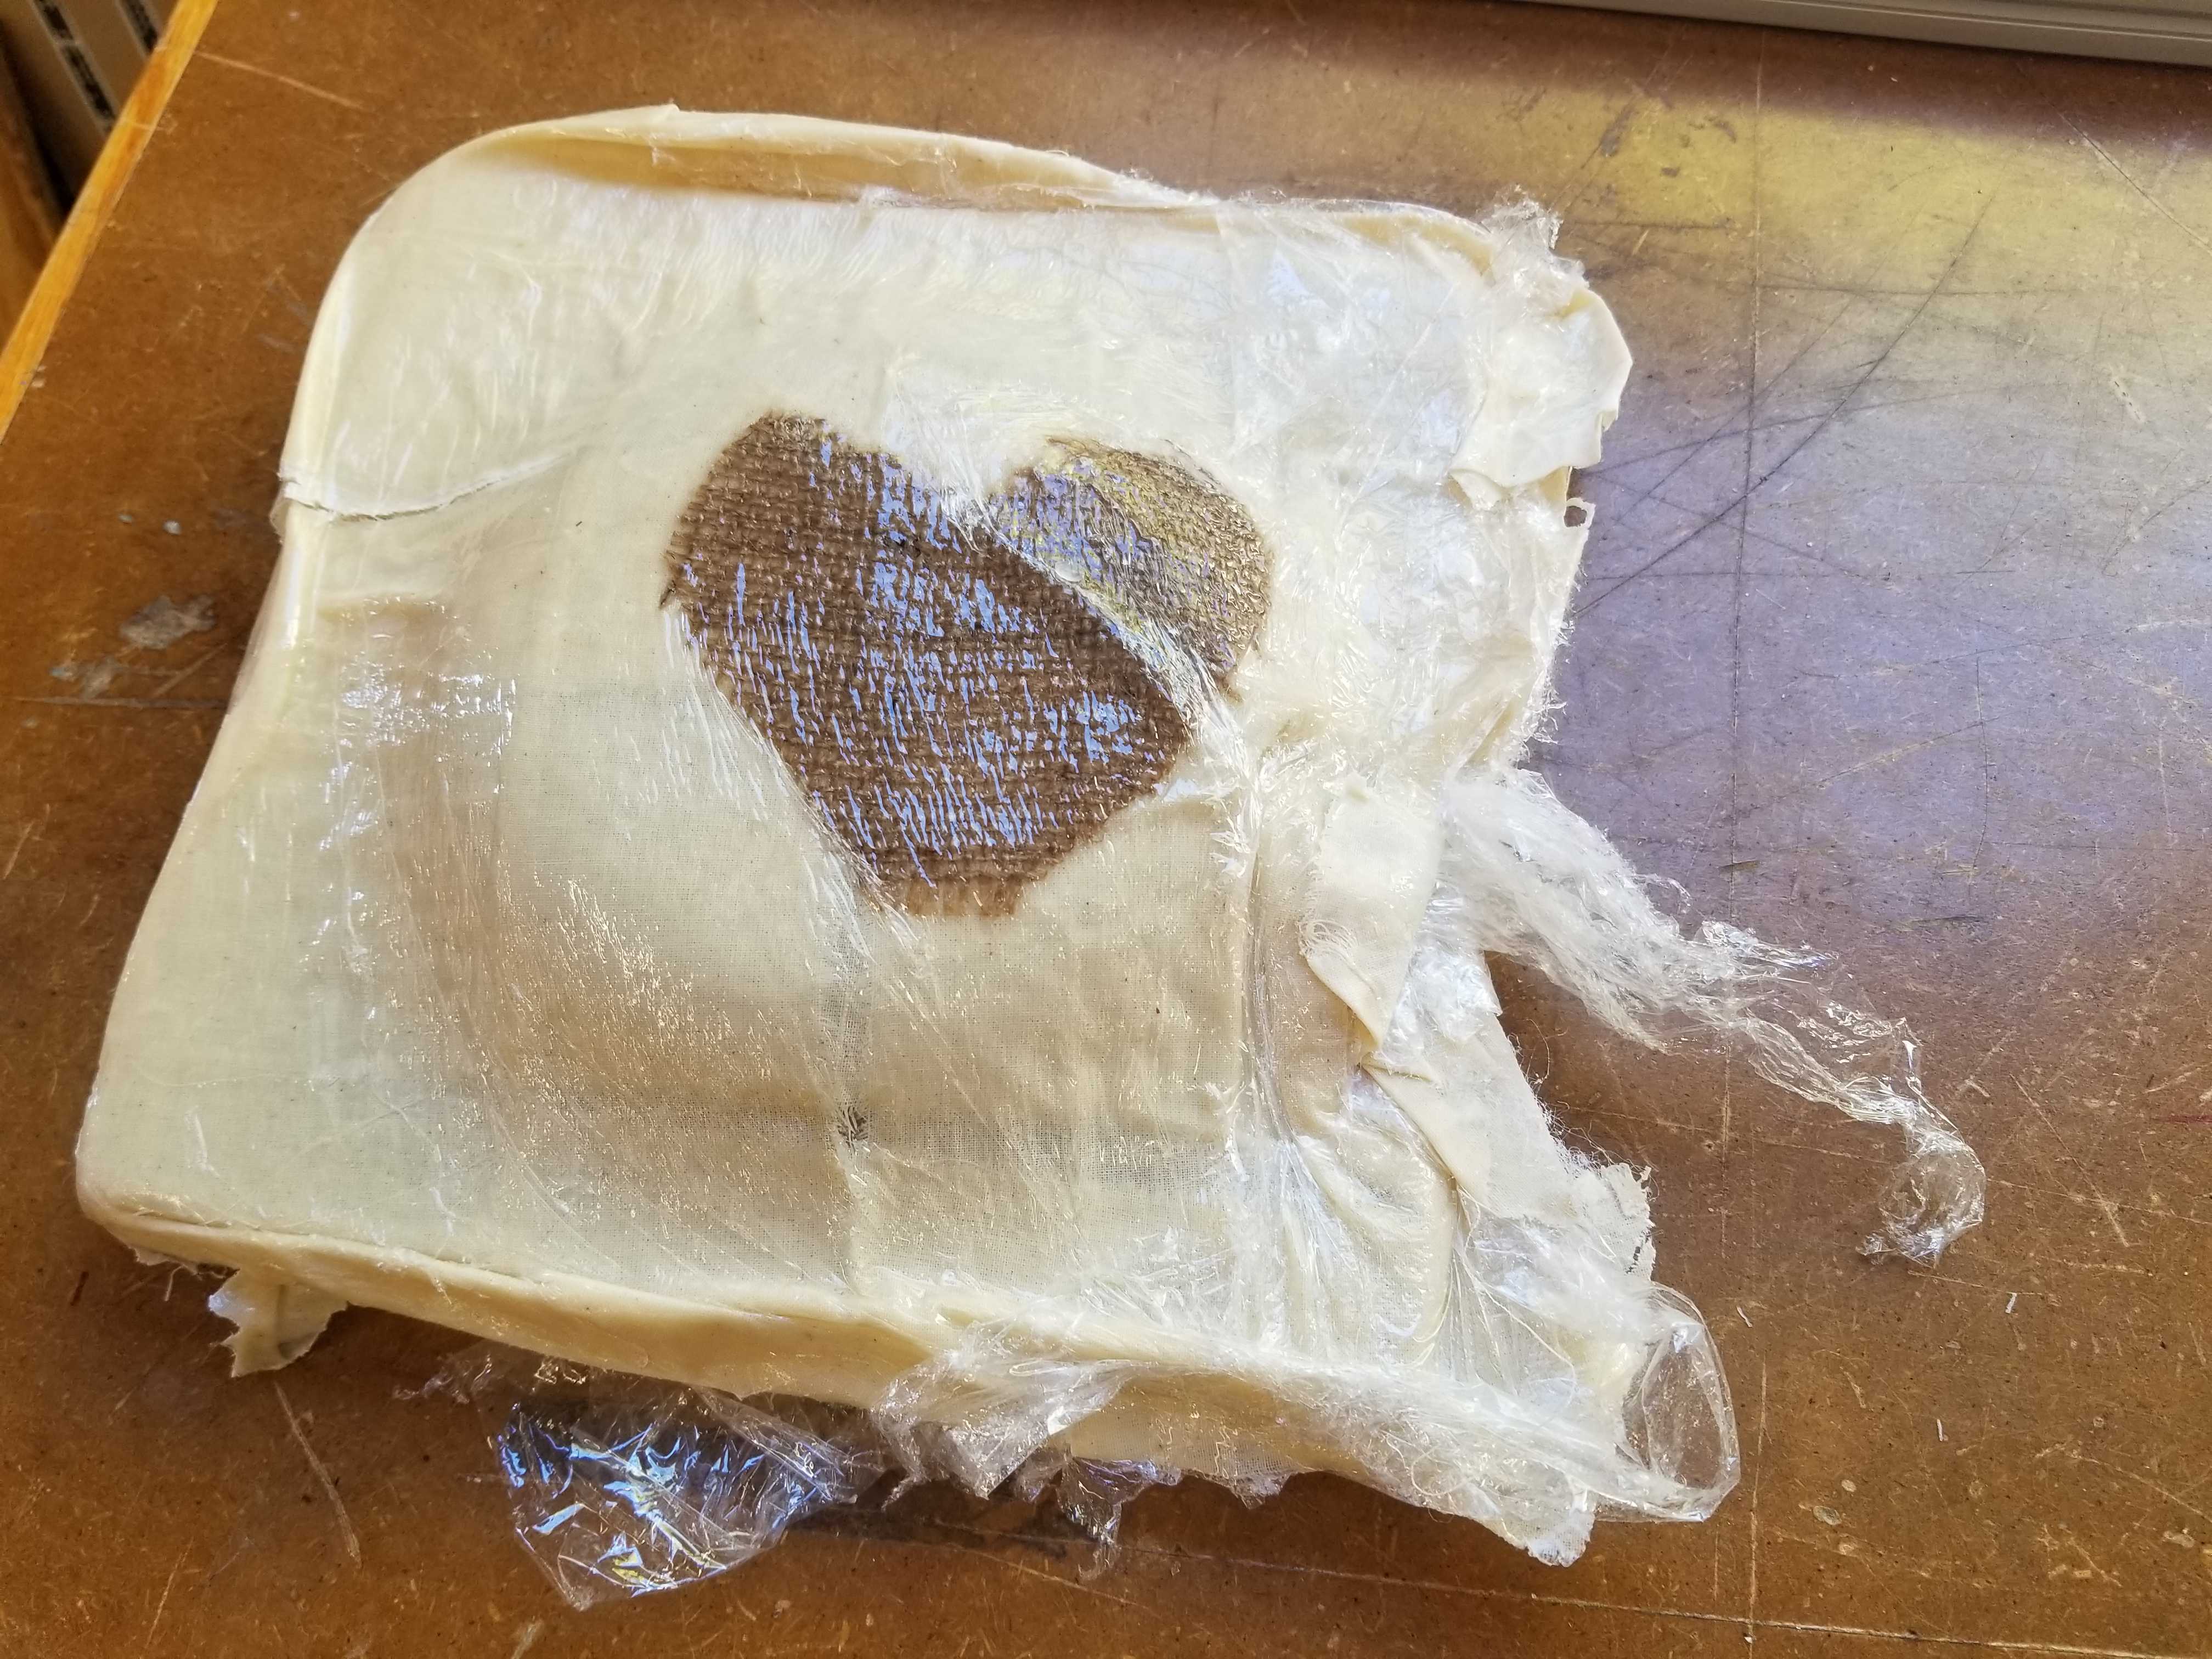
I essentially tore pieces of cloth and wove it into a square. I then put it on top of this plastic-wrap covered. pink pre-formed extrusion. By putting it on top, I am aiming to make a bowl. I then coated these pieces of cloth with resin. I then used resin to attach a burlap heart. I then layered it with plastic wrap with holes in it (I created holes by using this device that looked like a spiky torture device) and then these fluff material. Afterwards, I shoved it all into a vacuum seal bag.
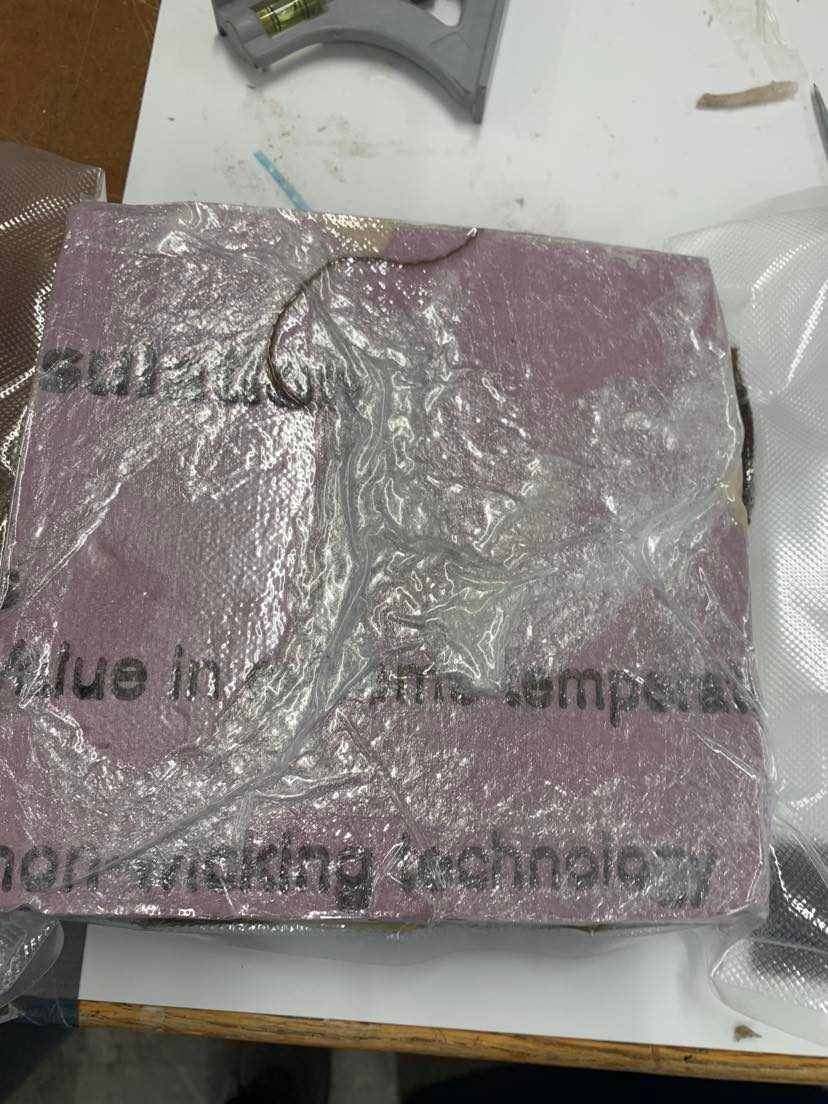
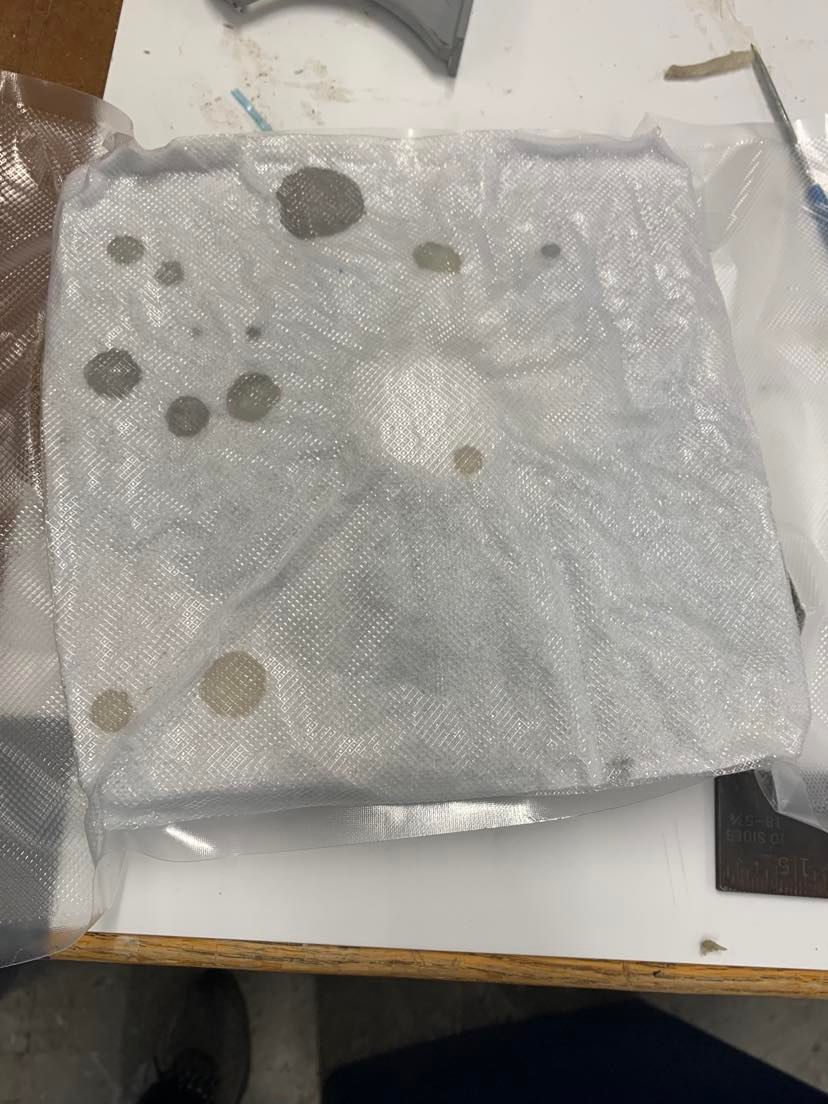
I then used the vacuum seal device to seal the thing and then I used the vacuum setting to vacuum all air out. You could see the stack of material become more compact. I then let it rest until it was ready. It turned out great!! The plastic was a bit hard to peel off though!