Week 8: CNC Milling, Molding & Casting
Background of Casting and Molding Idea
My boyfriend has a YouTube channel (Powerhouse of the Cell), and recently we worked on a video together in which we animated assembly line proteins (https://www.youtube.com/watch?v=aRG0Jnz_gG0&t=63s (opens in a new tab)). To celebrate our accomplishment, I wanted to give him a piece of wall decor. Essentially, there would be a neuron that is present in all of his videos. And on the neuron, I would put a heart (becuase, you know, we're dating and heart = lovey dovey stuff). The idea is, later on, I could write a note on the heart.
Designing the File (Photoshop, Illustrator, Fusion)
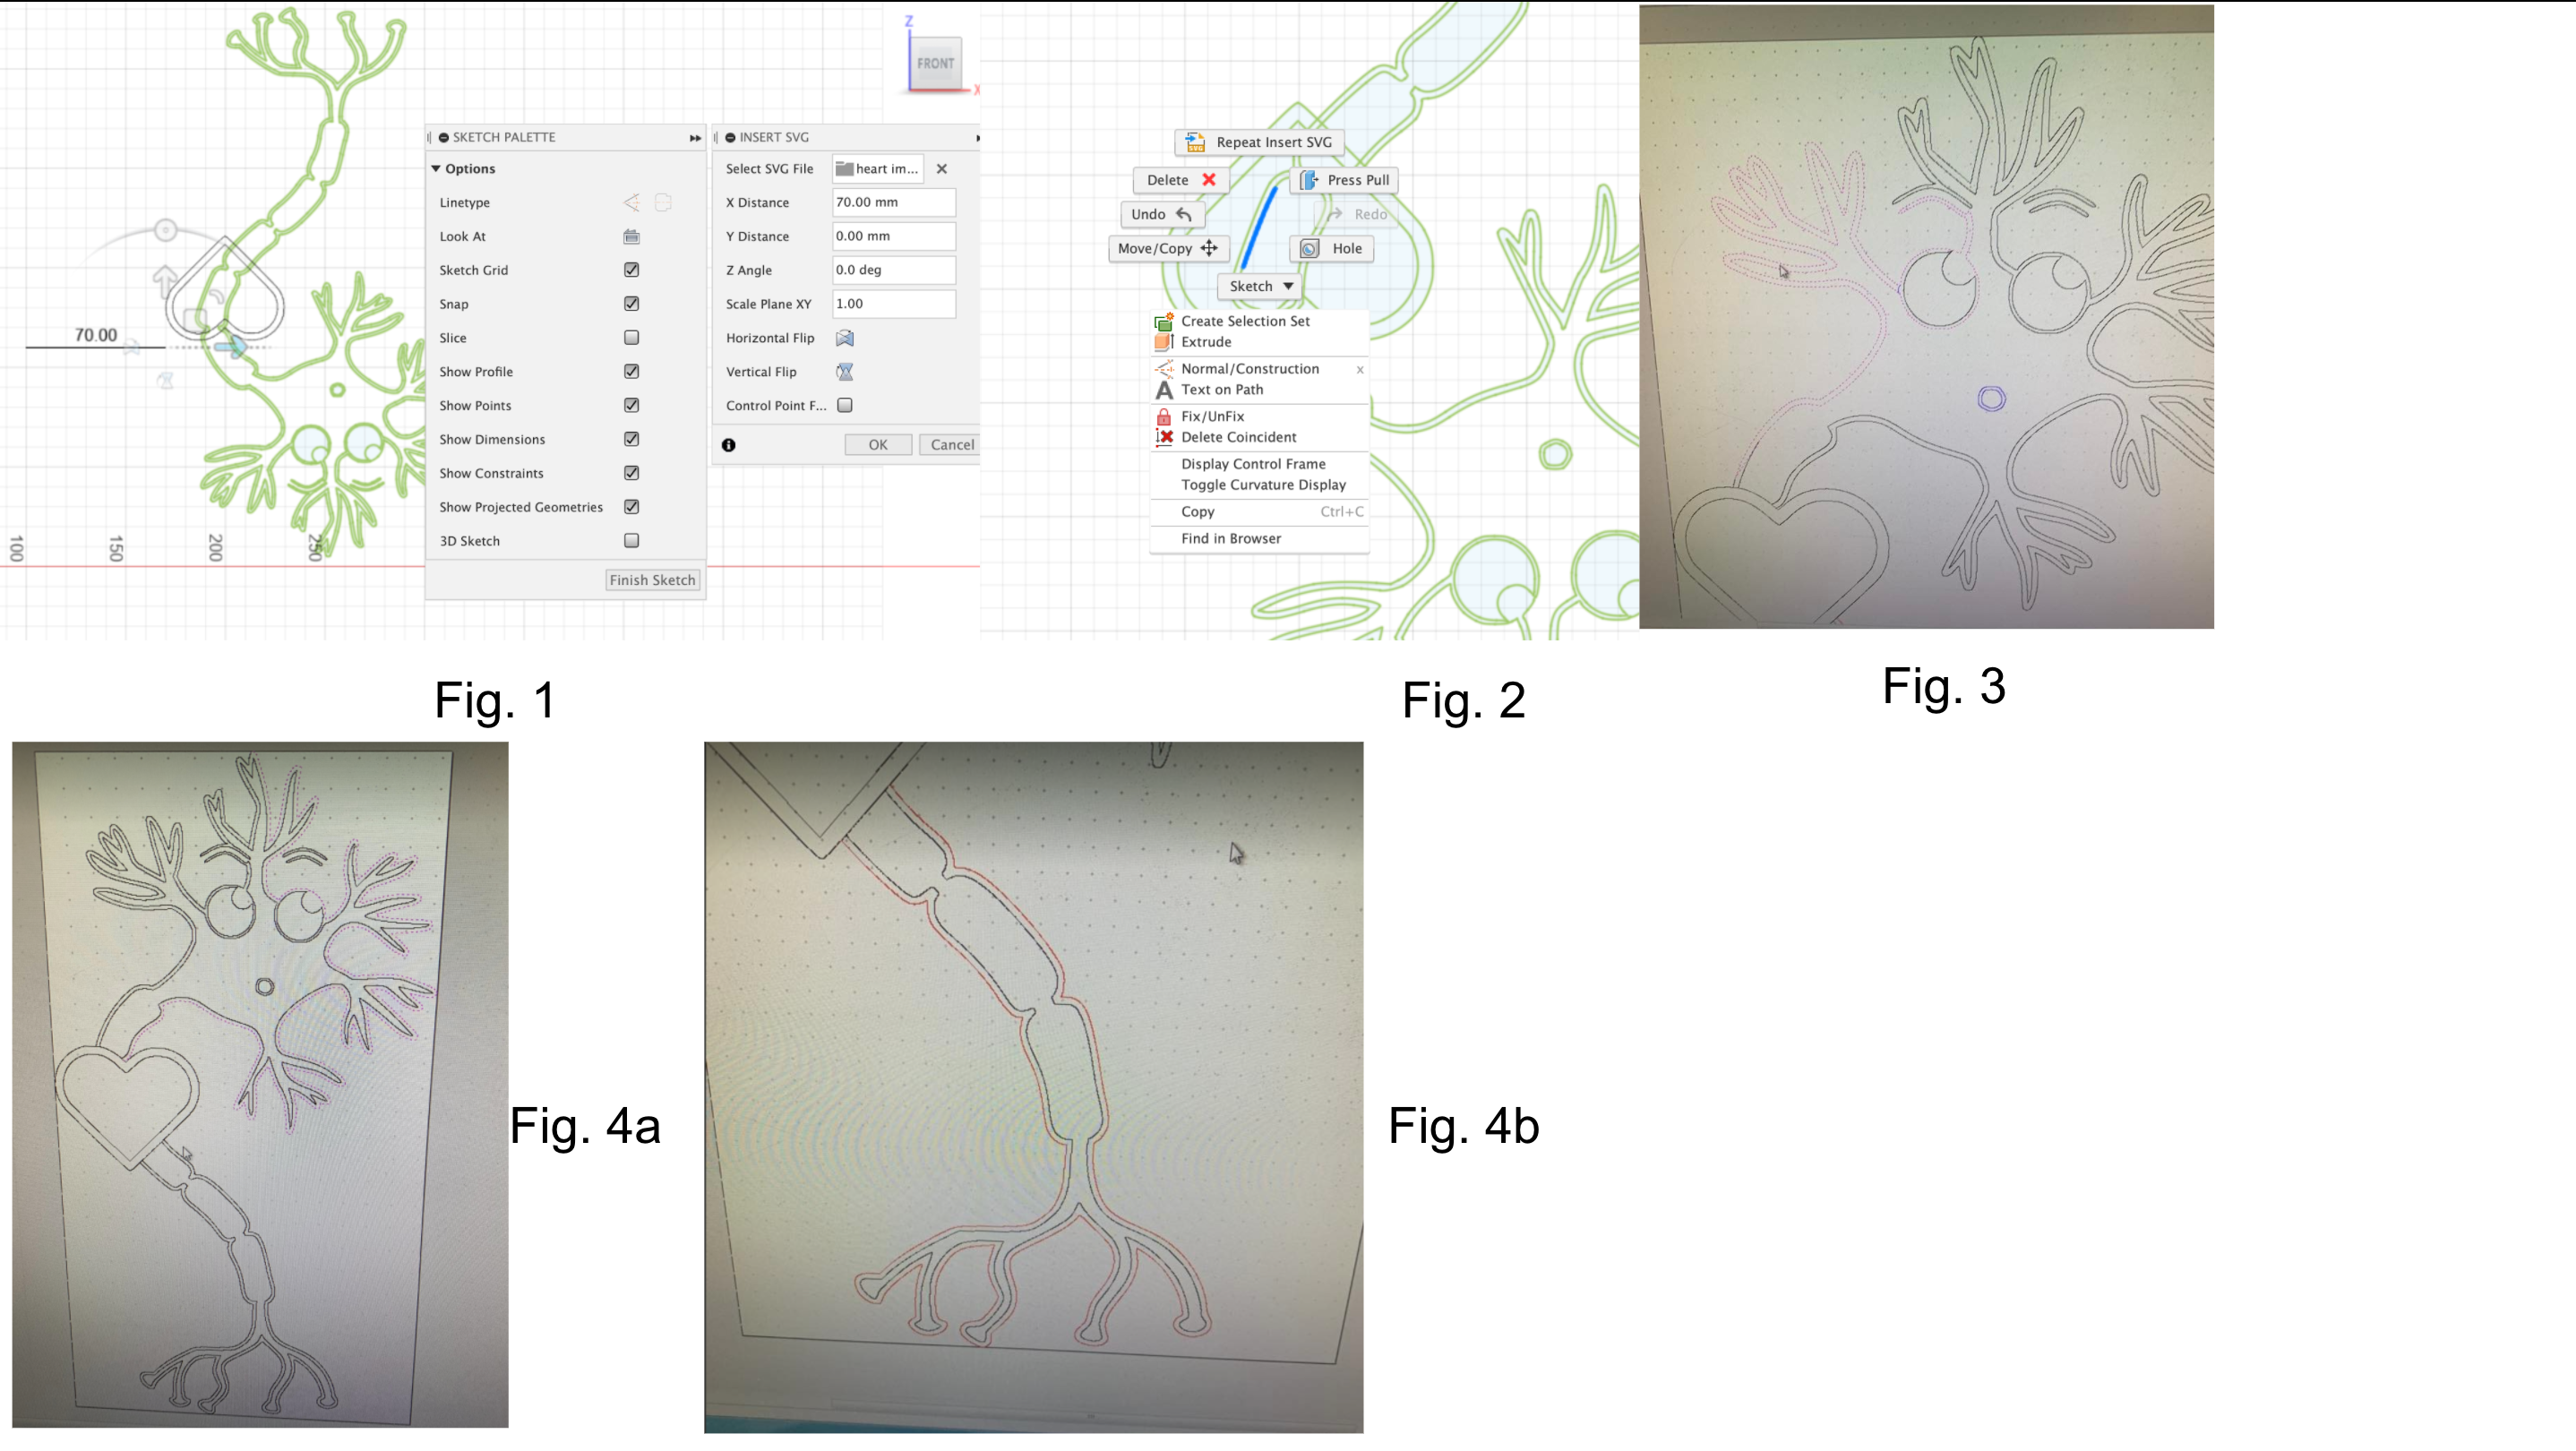
My boyfriend previously had the file corresponding to the neuron. However, as mentioned in the introduction, I also want to insert a heart into the middle. Hence, I used Fusion to to do this (Fig. 1). This is the overview of my workflow
In the below section, I'll be walking through some of the troubles I encountered with the file upon uploading it into the shopboat and ways in which I tried changing/improving it.
Using the Shopbot
I followed Joon's tutorial (https://nathanmelenbrink.github.io/ps70/07_cnc/Shopbot_Aspire.pdf (opens in a new tab)) to use the Shopbot. Since I wanted to keep this object and potentially give it as a gift, I decided to use a piece of nice plywood I found on the shelf. Per Joon's suggestion, I drilled the wood into the sacraficial wood. I made sure to make sure that the nails could get into the sacarafice wood without sticking up too much (originally I had a nail that was too long that I took out due to concern that it would interfere with the shopbot.)
I measured the width of my wood (0.75 of an inch) and entered it into the Shopbot. I also made sure to adjust the height of the Shopbot to ensure the drill bit had a piece of paper in between it and the wood.
After uploading my file into the Shopbot, I realized my vector file is connected to each outer. For instance, the outer lines loops into the inner line. Thus, when I click the outer line, it also highlights the inner line.
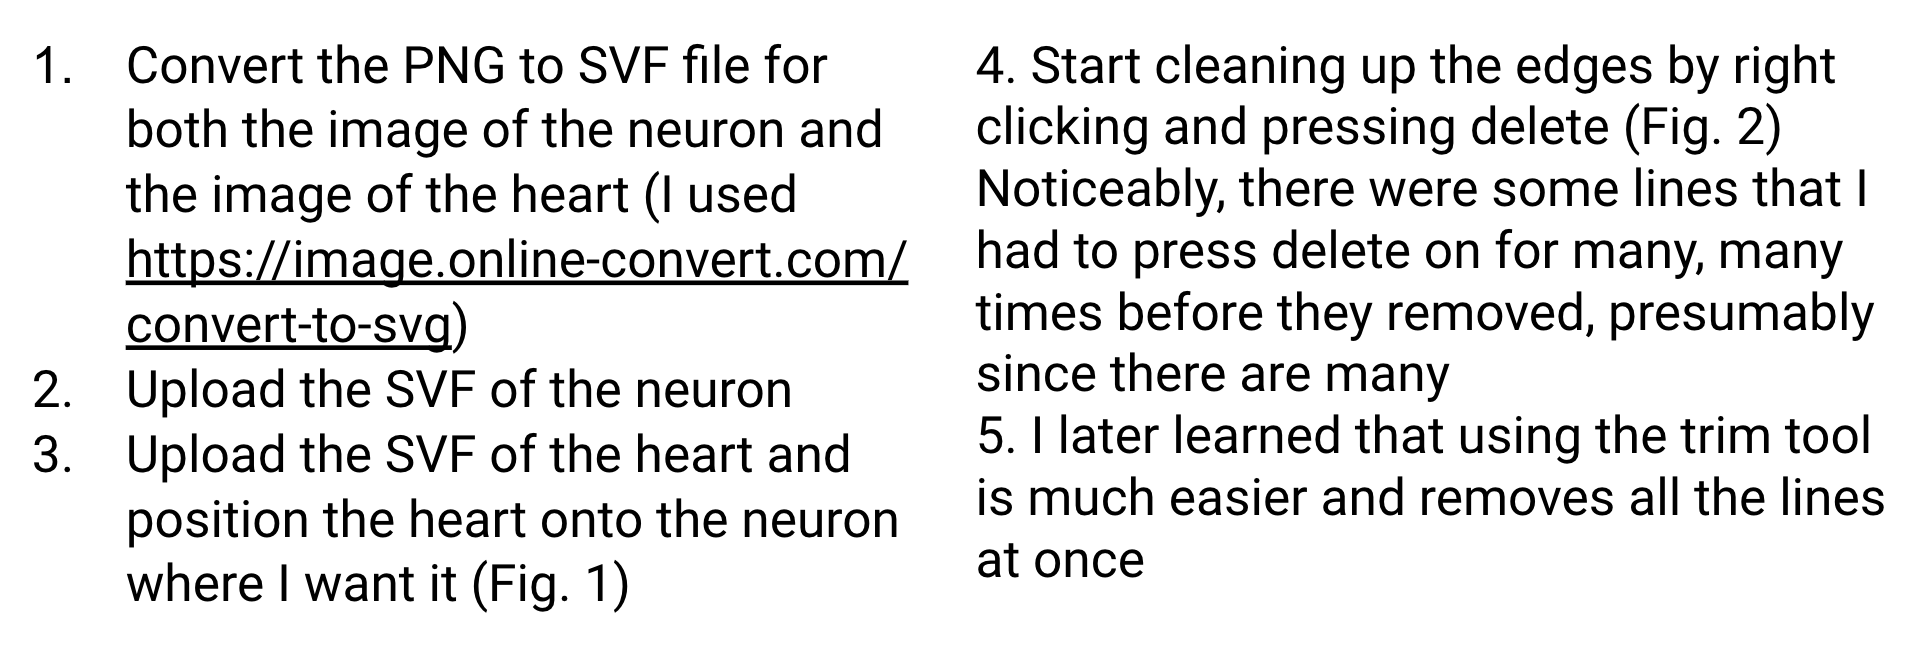
I tried adding a line (I tested with Aspire, Fusion, and also Illustrator) or adding line breaks on it. However, there was no luck. When I highlighted the outer line, parts of the inner line would often also be highlighted; moreover, parts of the line would be terminated (Fig. 3). There were other outer lines that were able to be highlighted separately from the inner line. (Fig 4). However, due to the aforementioned problems, I decided to ask my boyfriend if he had a file of the neuron where the outer lines aren't connected to the inner lines. In essence, the file was able to be edited so there wouldn't be an outline line. However upon uploading onto my computer and also Fusion, I realized that since the file was made in photoshop, the lines were not super clean and were instead made of fragments.
Thus, I decided to focus on just the heart aspect. Thus, I could still learn how to use the shopbot. I thus shifted focus into making the heart as a way to display my jewelry. Hence, I needed to pocket cut. I uploaded a vector file of a heart that had two lines (fig. 5) -- an inner drawing of a heart and an outer outline of a heart. Upon the upload of the heart file, I scaled the heart to double the size of the original file since I wanted to be able to hold enough jewelry. I knew I had to double the size because one of the aspire windows showed the dimensions and upon using a ruler to measure the air, I realized that the displayed size was too small. I used a caliper to approximate/estimate how big to make the heart and thus specified it into the aspire software.
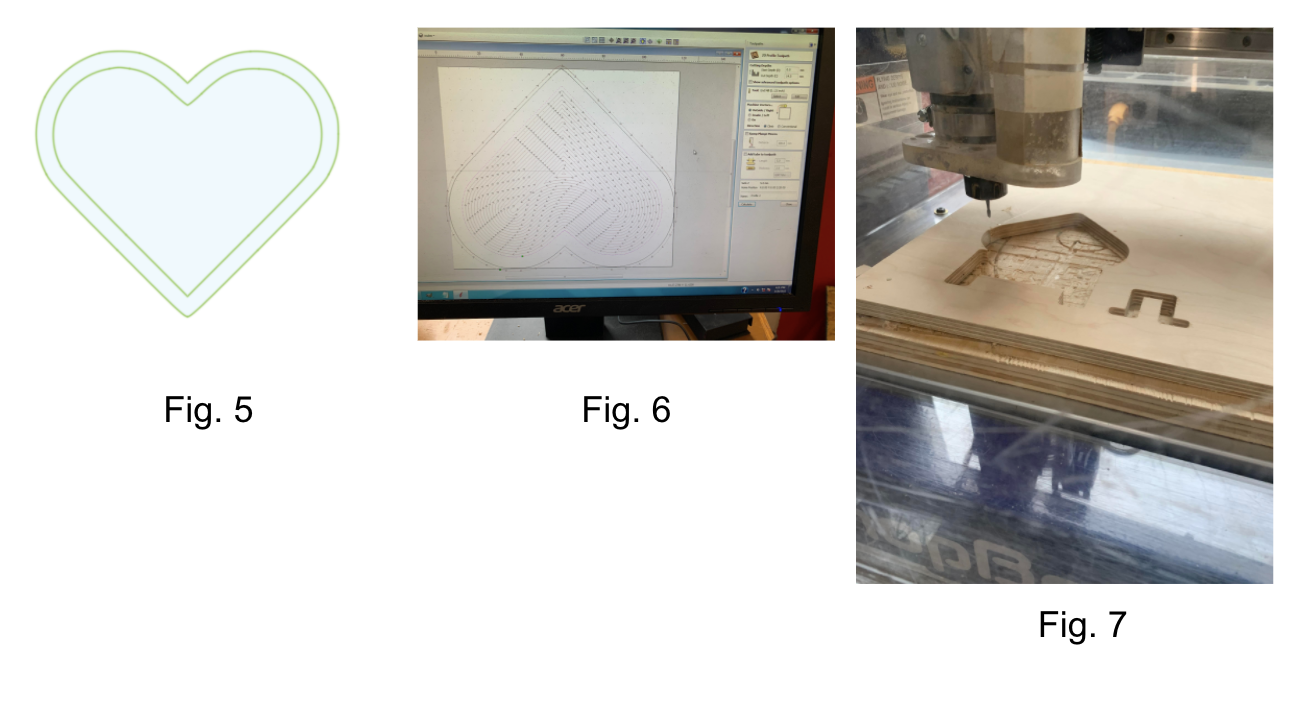
Then, I specified to use a pocket cut, with a depth of 14.5 mm (Fig.5). Essentially, I specified for there to be an inner line and an outer line. Attached are the pictures for what the tool path looked like (Fig. 6).
After I finished the work on Aspire, I used the CNC Shopbot software to move the drill bit into the desired location. In attempt to conserve wood, I positioned the drill bit close to the other cuts. I then did a dry run of the cut by having the Z-axis slightly above what it would normally be (so it doesn't cut).
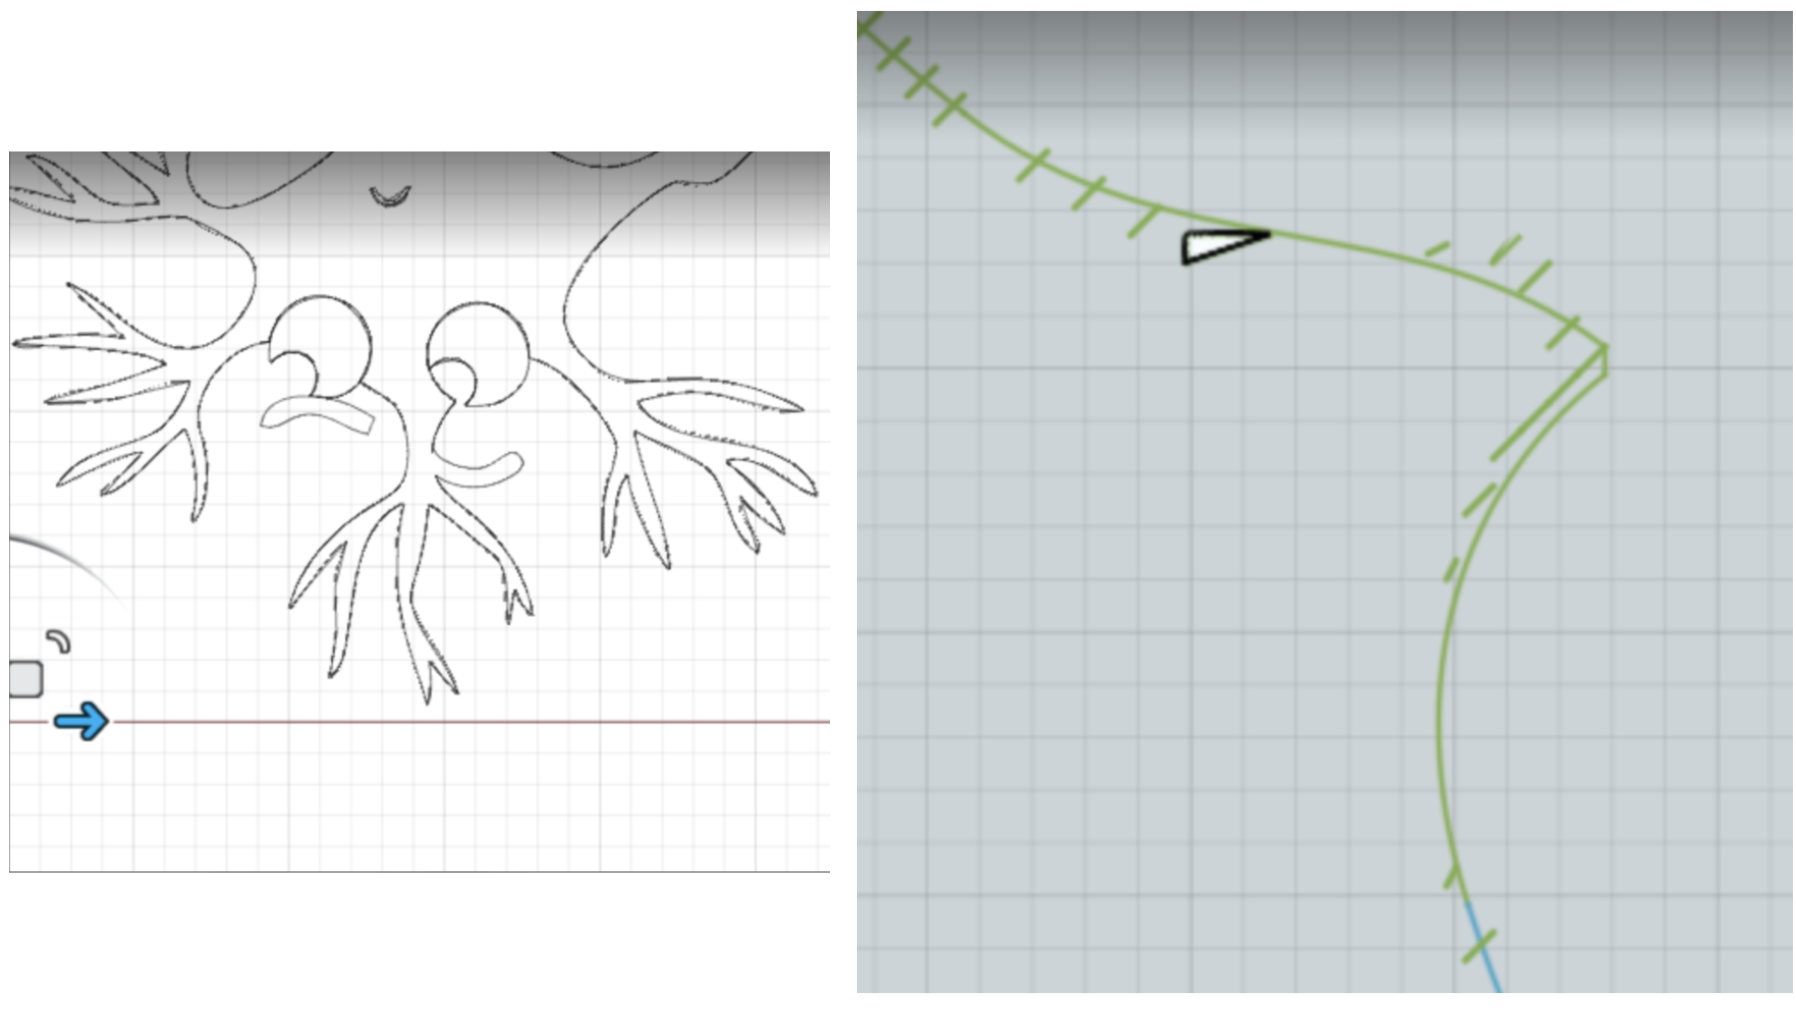
GIF of it running:

Here is my final product!
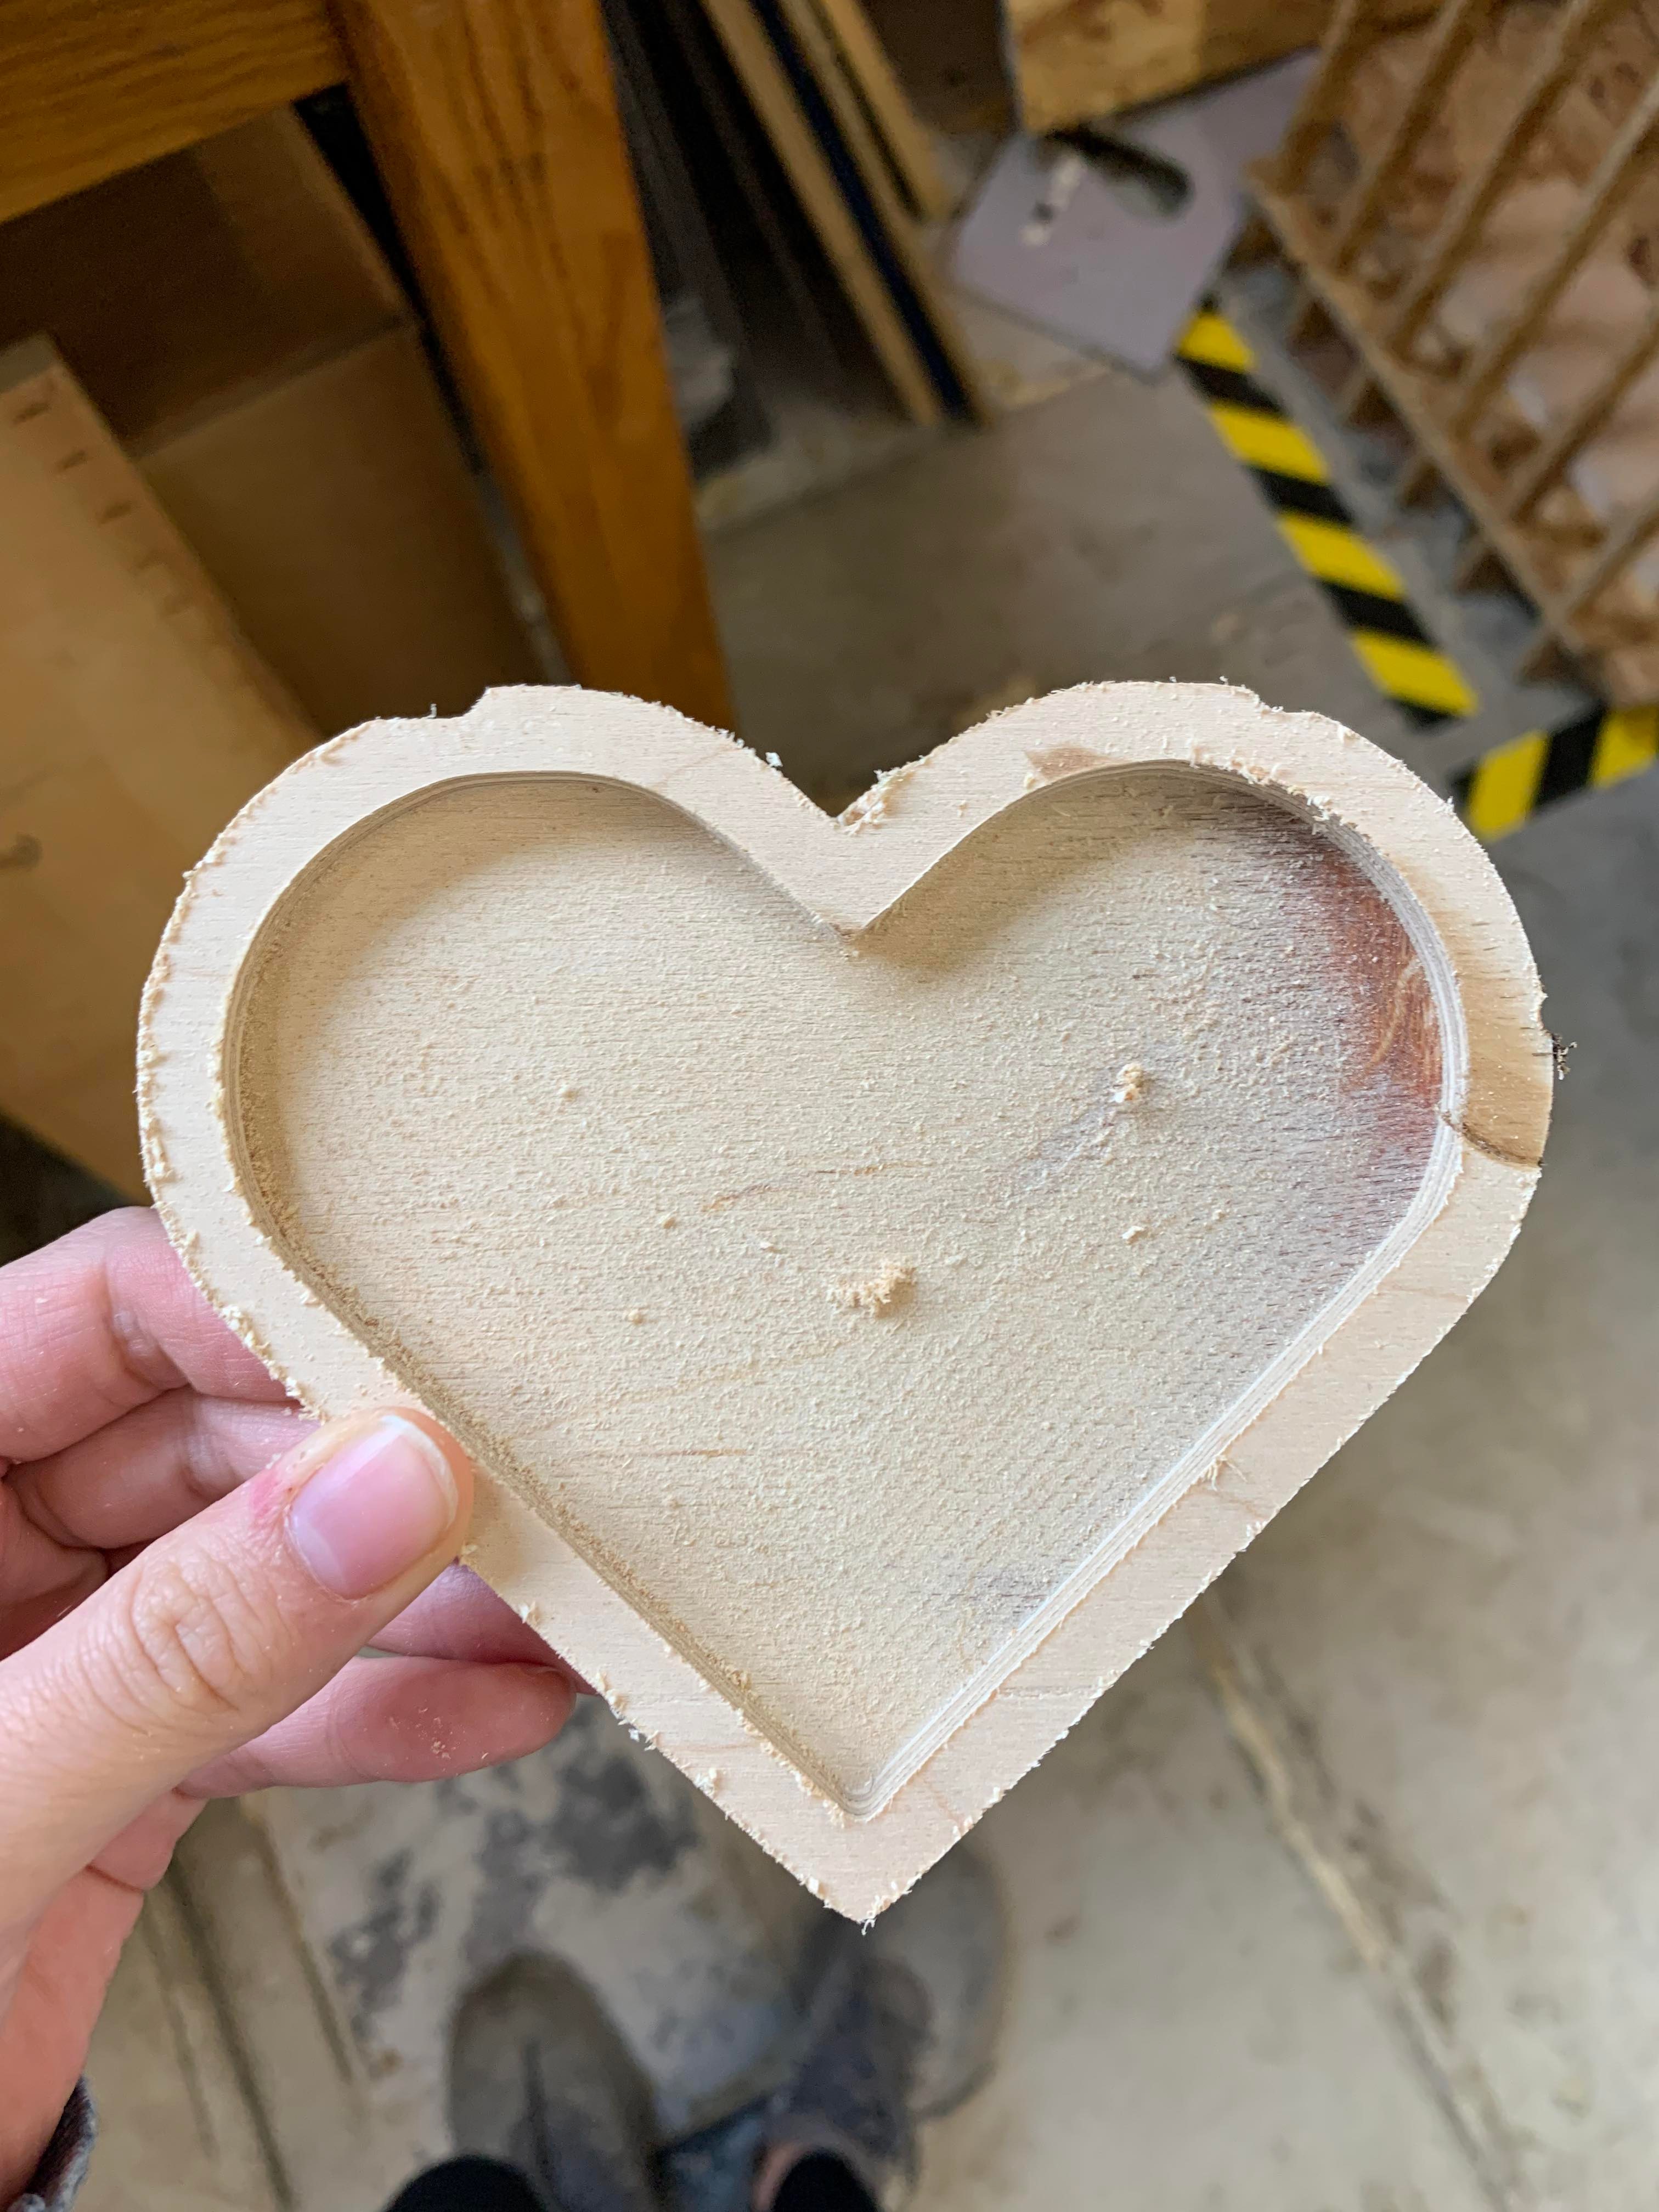
Overall, I'm pretty happy with it! There's a slight notch in a corner because I cut too close to other cuts.
Casting and Molding
I also wanted to make a statue of my hand holding my boyfriend’s hand through casting and molding. This was inspired by an Instagram ad that I saw of a statue of a hand. To do this, I recruited my boyfriend (he was enthralled, of course, for the opportunity to hold my hand for an extended period of time).
Making the hand mold
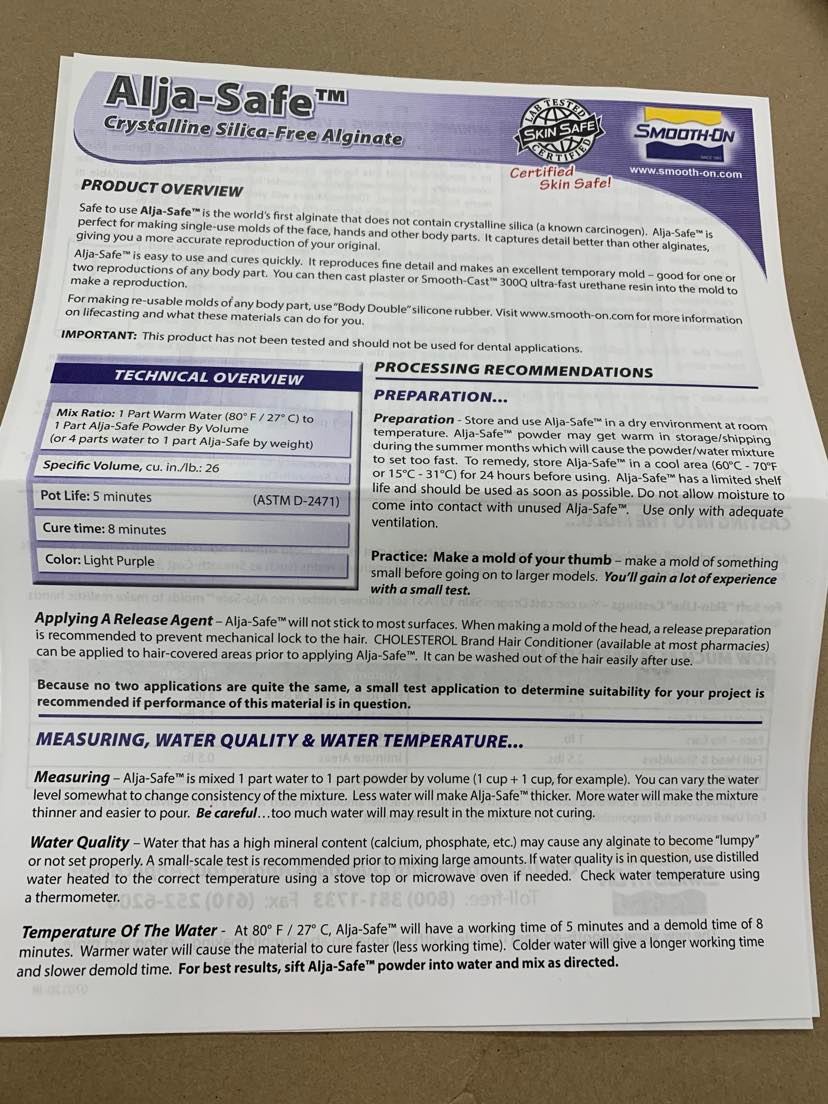
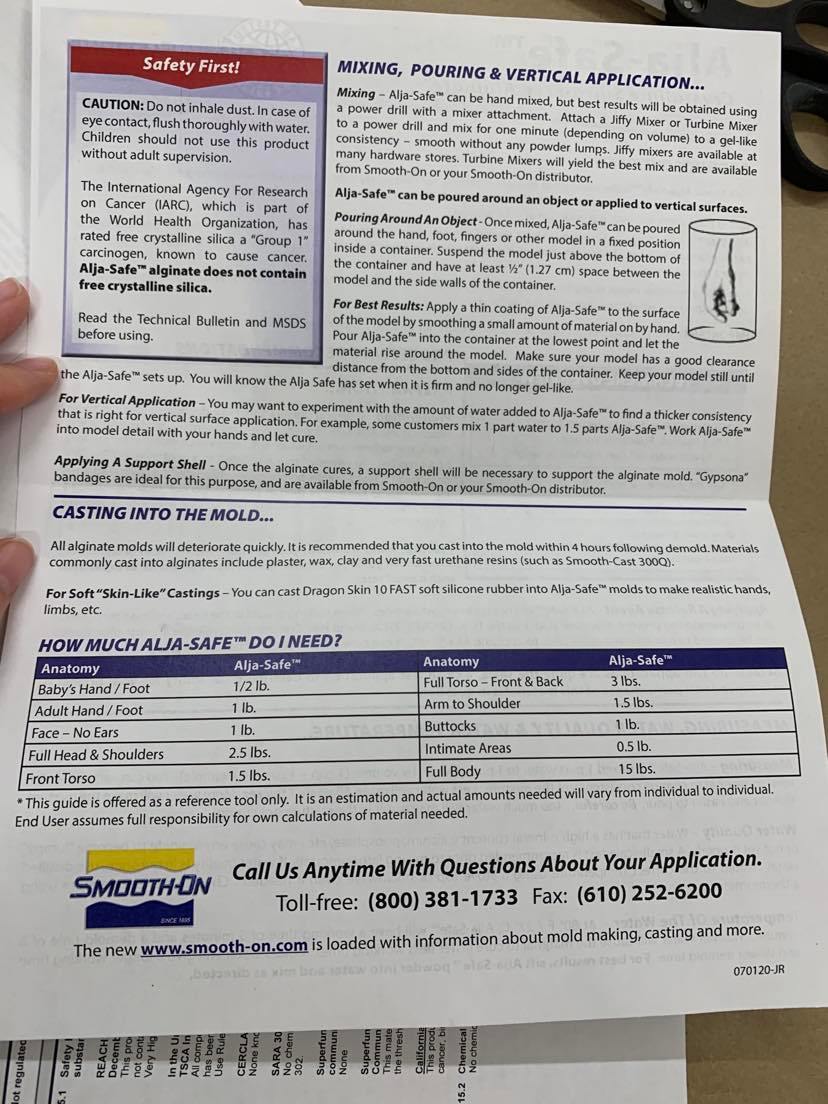
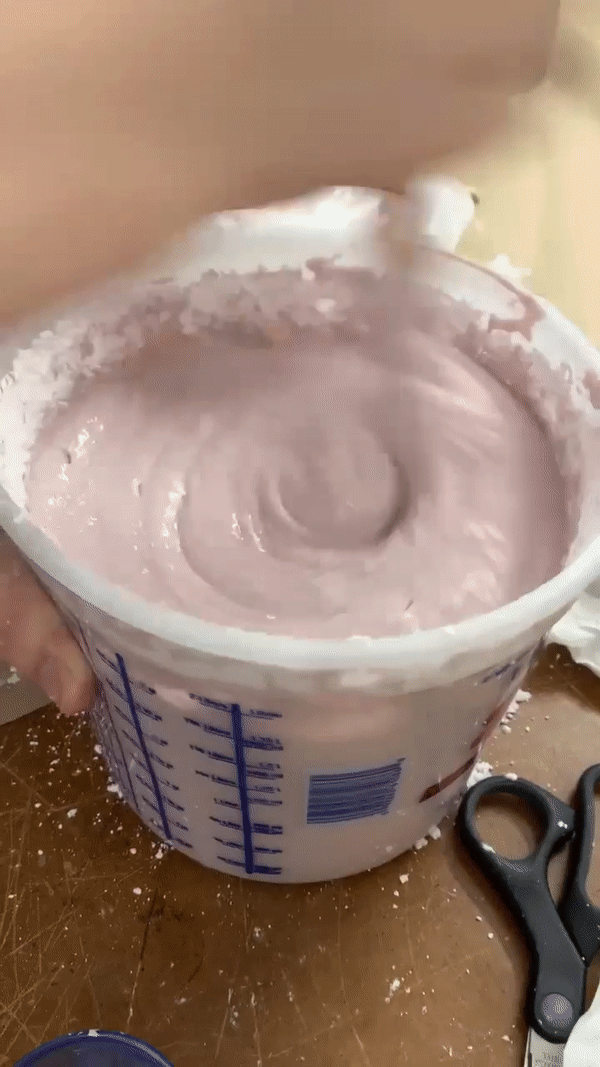
I used the skin safe (Alja-safe) alginate molding powder. The powder was pink-purple. I mixed water in a 1:1 ratio with water, per the instructions. The instructions also suggested using a hand mixer or a beater attached to a drill; however, I was unable to find one in the lab (and also could not find one in stock at the local CVS). Thus, I needed to hand-mix the powder and water. For future reference, Chris later on messaged in the slack that you could just attach a wooden spoon to a drill-- however I was a little unaware while making this. The instructions suggested making a test mold of the thumb first. This went swimmingly, presumably in the hindsight because I needed to mix a smaller quantity of Alja-safe and water. Since the instructions suggested warm water, I used that. If anything, we could've had it harden faster. Here is the picture of the instructions.
With this information, I then proceeded with this formation of my first hand mold.
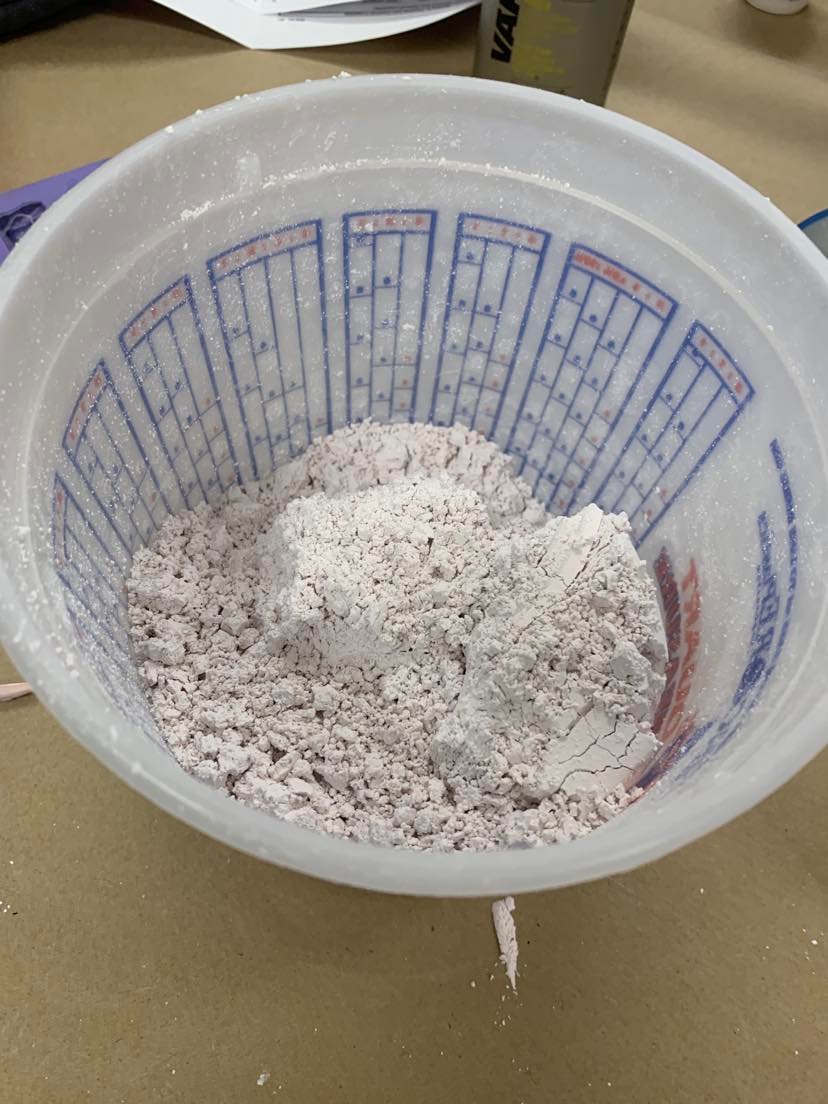
Here's what the powder looked like before being mixed with water.
And here's the water.
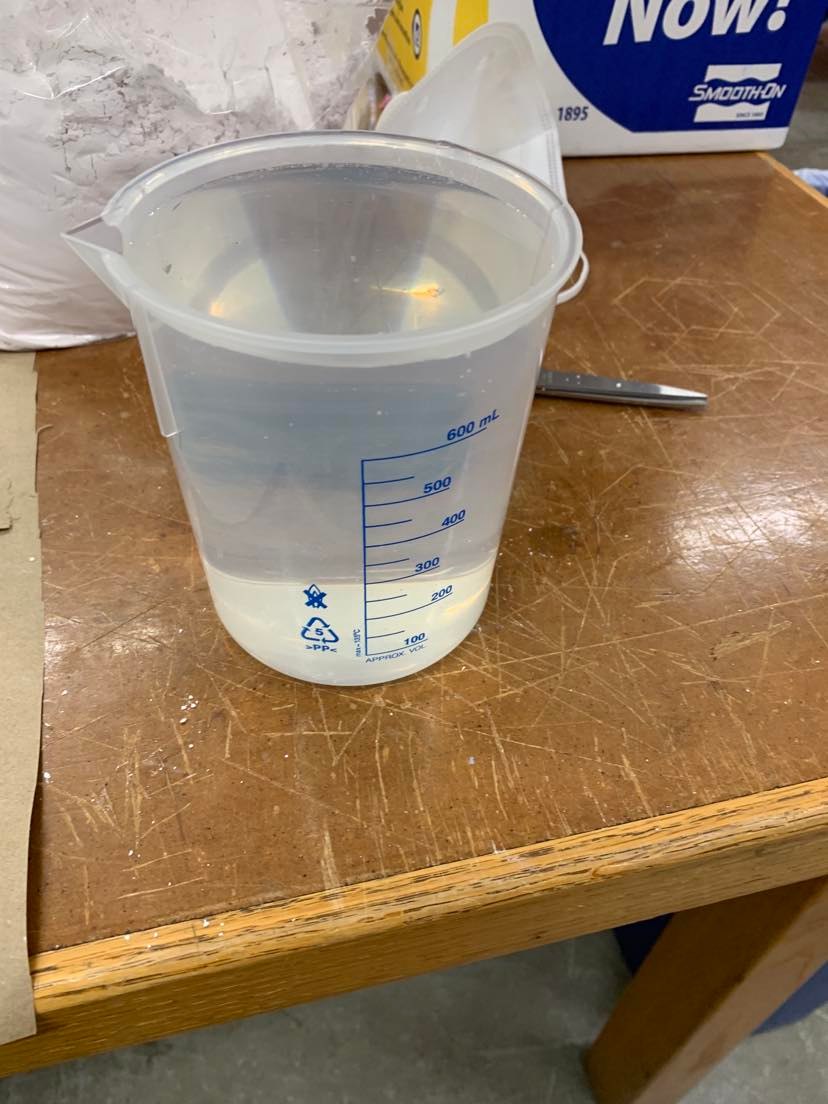
We used the scale to measure everything :)
- With 1/4 warm water and 3/4 cold water, this mold hardened way too quickly. It became chunky very quickly so my boyfriend and I, once we noticed it start to get chunky, quickly grabbed each others' hands and dunked it in. However, since this was such a rapid process, we didn't position our hands the best, and we could feel the sides of our fingers touch the plastic container. In addition, since the alginate had begun to harden, it was super clumpy to get in our hands. After the Alja-safe felt firm, we pulled our hands out.
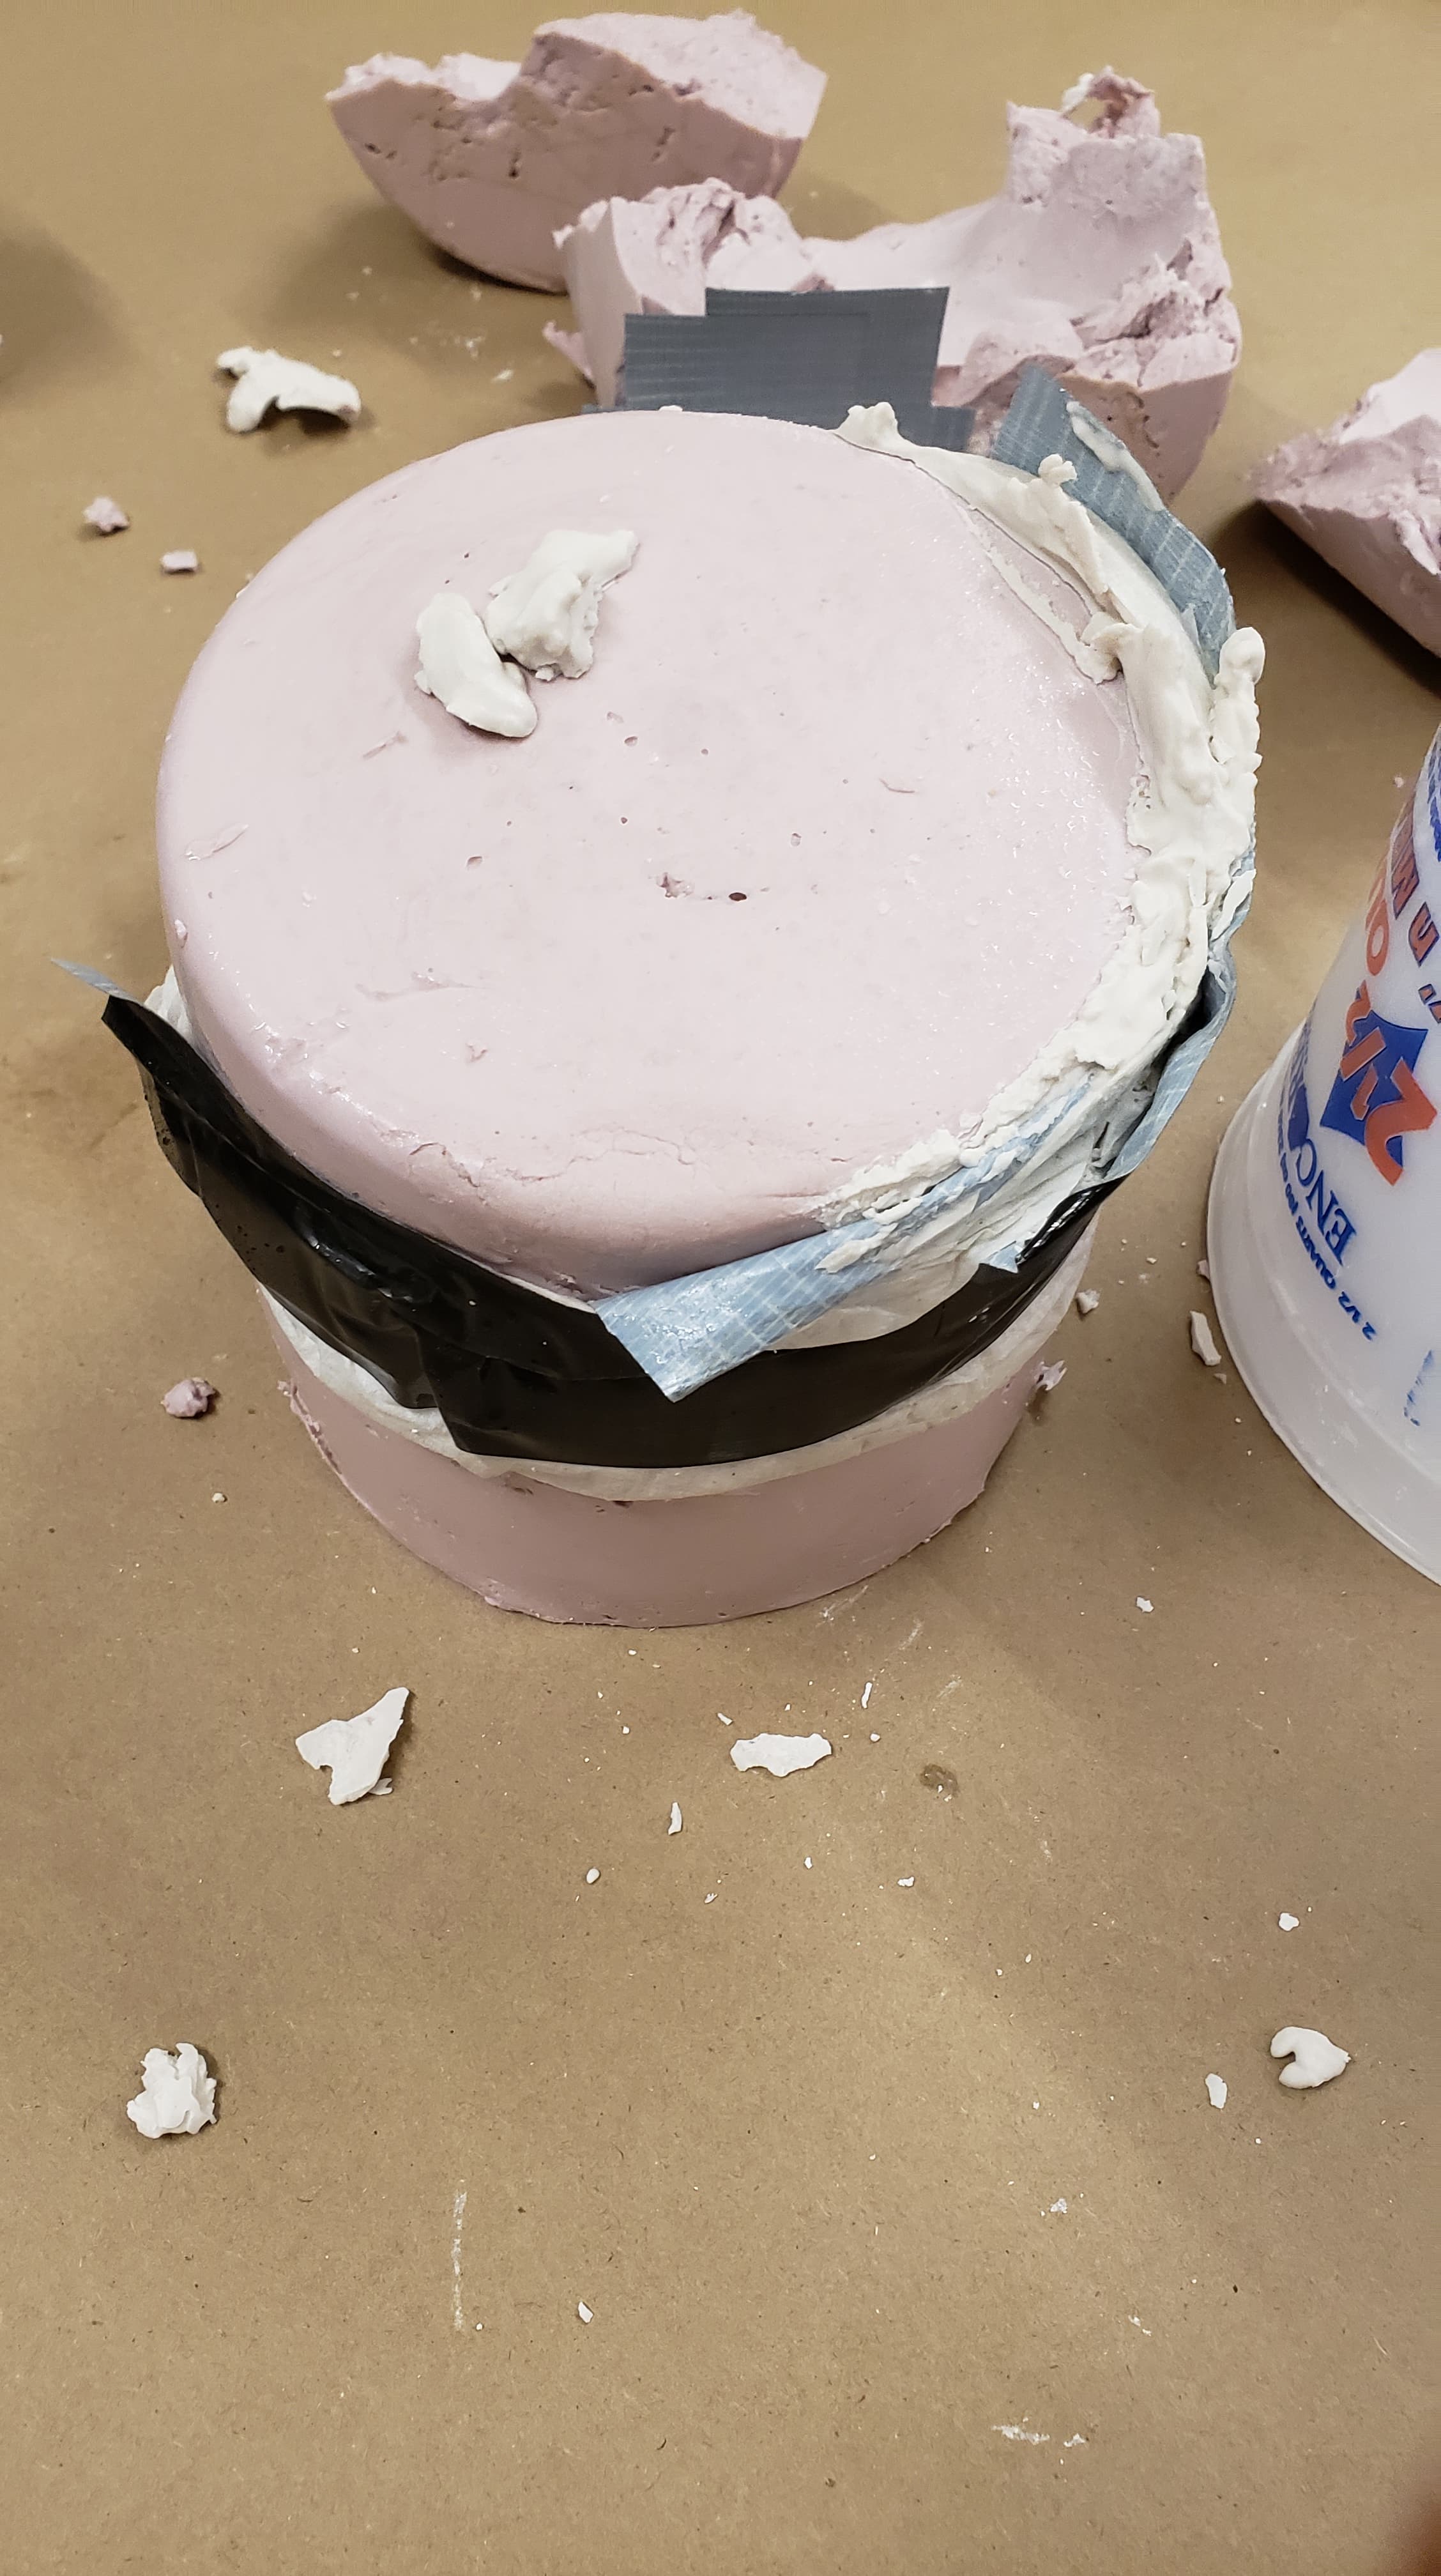
---> Once this hardened into the mold (it was like a rubbery jelly-like consistency), there were holes throughout the mold. We duct-taped around it to prevent leaking. Also, interestingly, the mold secretes this liquid once the mold is hardened. It might be the excess water, I'm not sure.
-
We decided to reattempt this again but with less warm warm water and more cold water. We did 1/2 warm water and 1/2 cold water. We thought this ratio would make it a lot better but it was still very difficult to stir with the wooden stirring bars and we still ran out of time before we felt the alginate begin to harden. Again, we pulled out our hands once the Alja-safe felt firm. We did leave our hands in a bit longer just to be safe, though. --> This mold still looked a bit chunky and a section of alginate actually fell out of it once hardened.
-
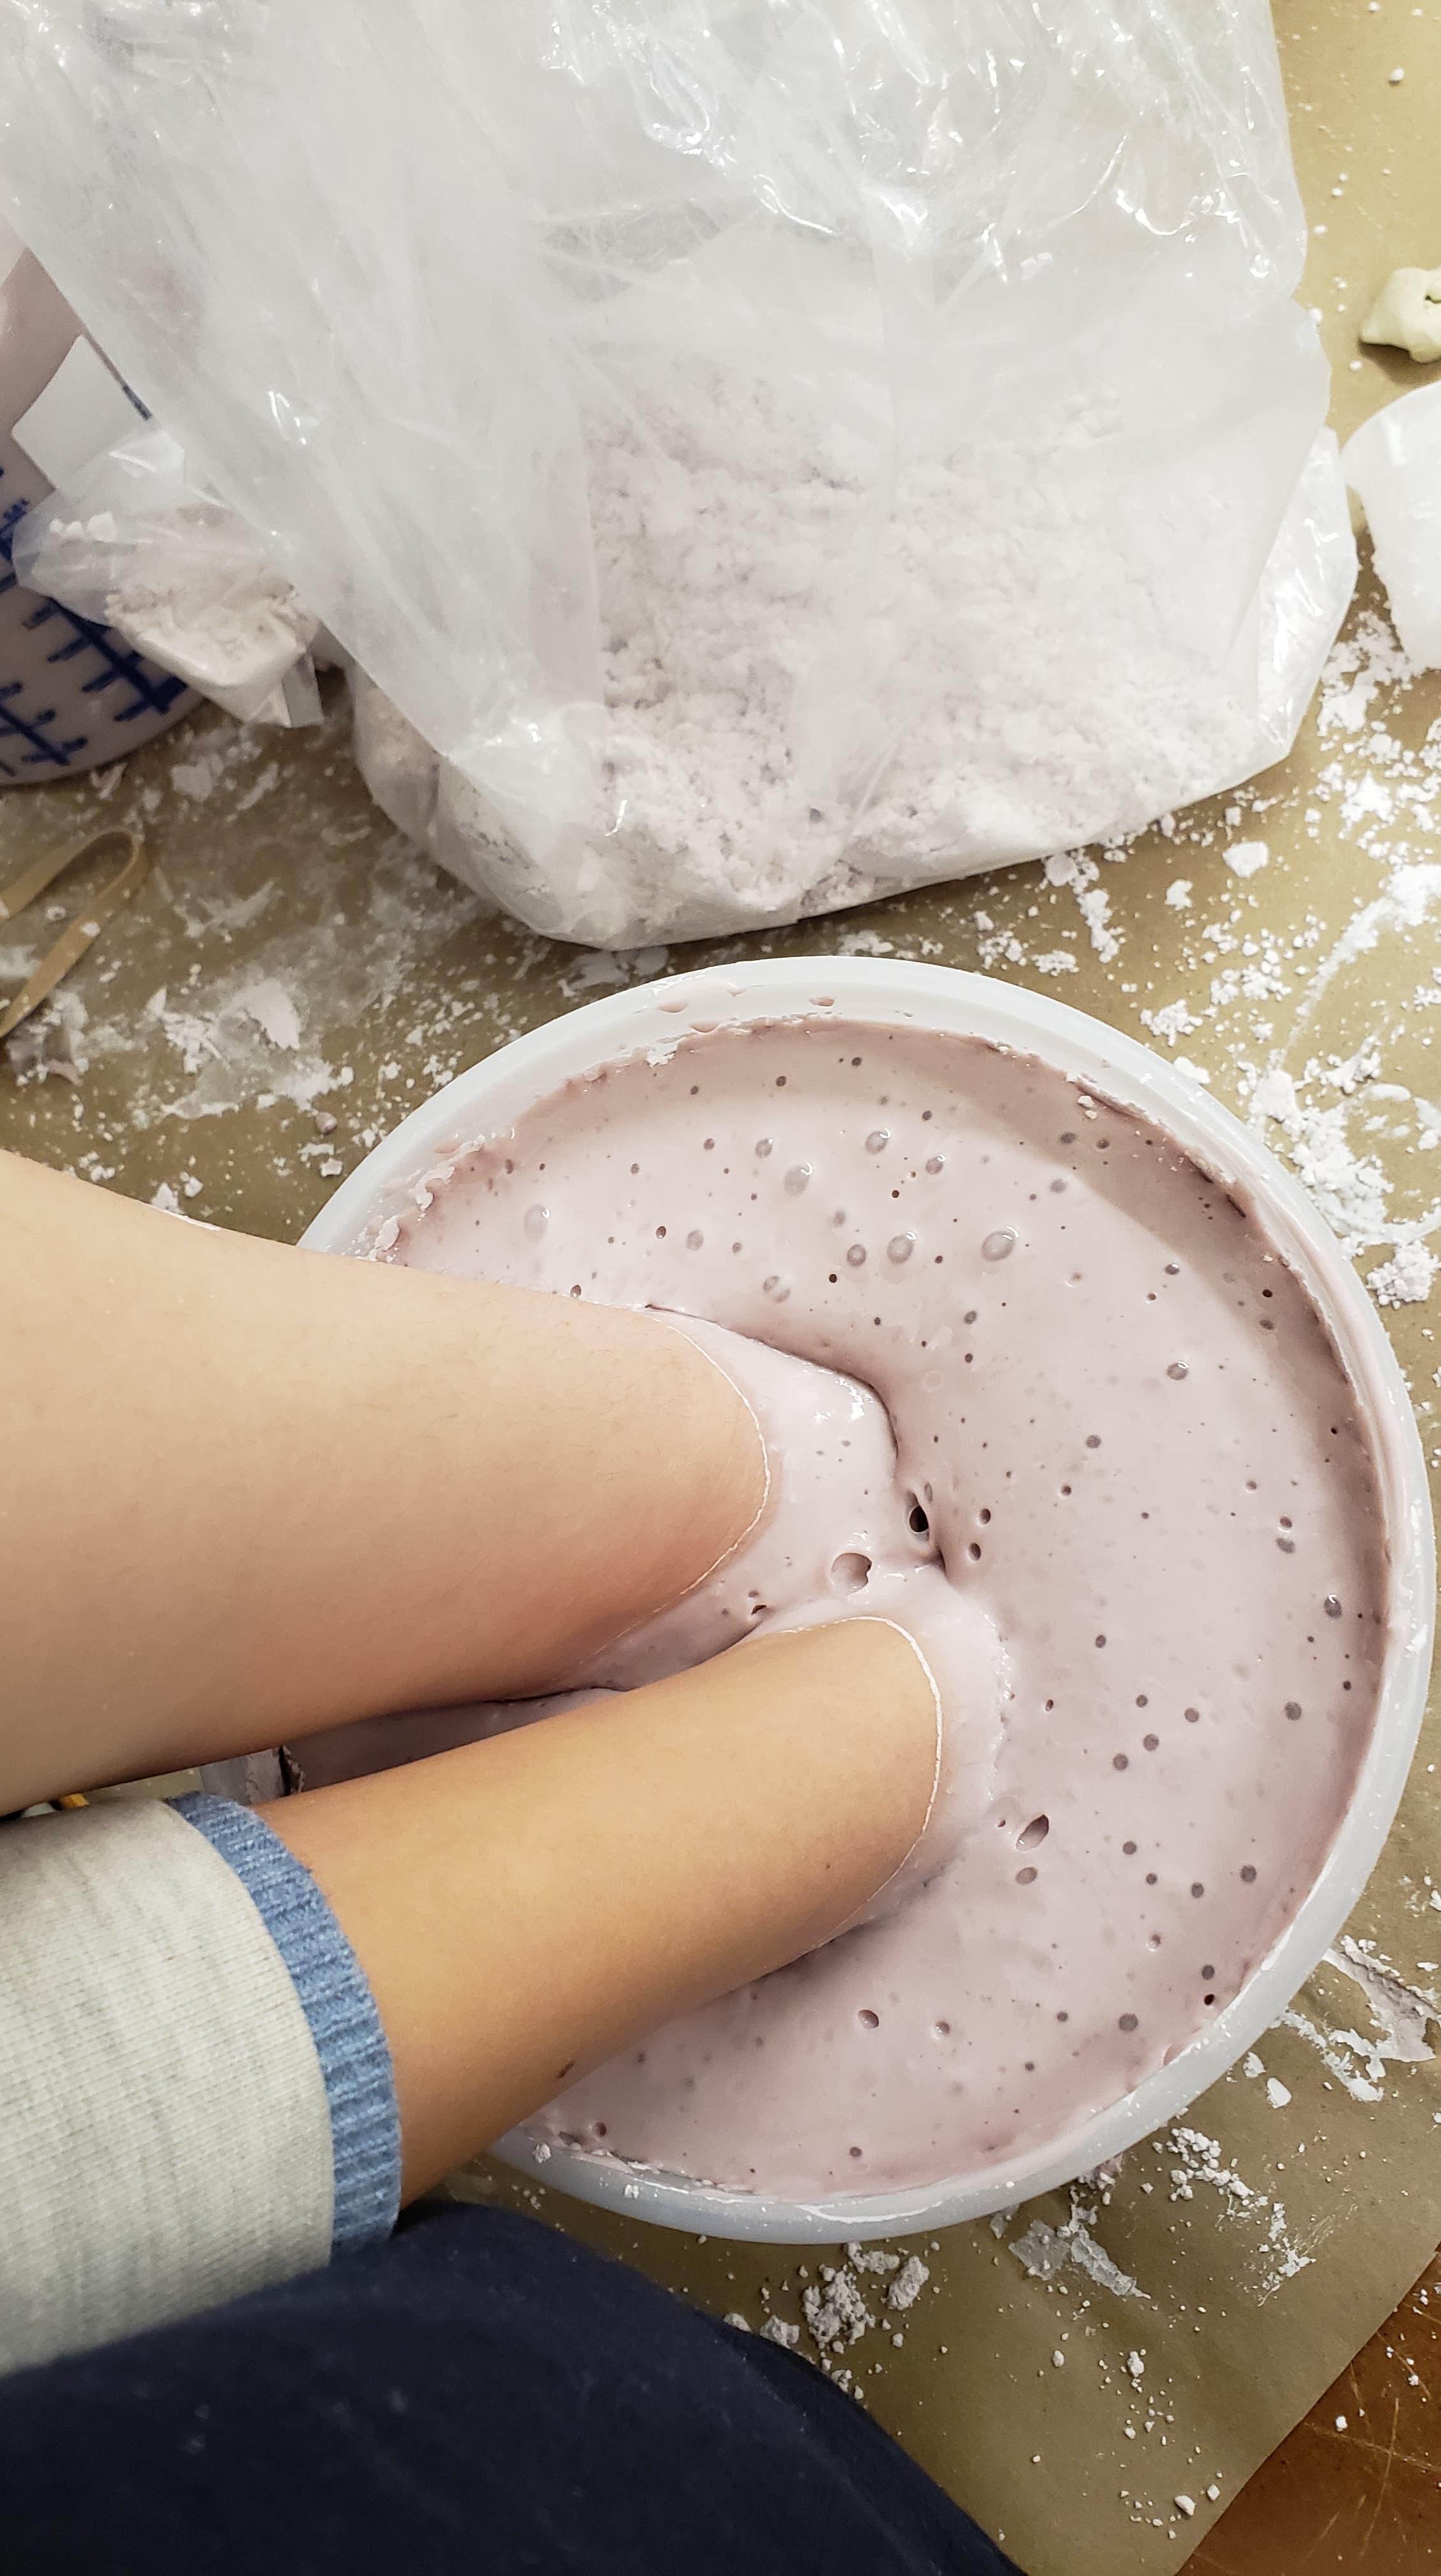
We still weren't totally satisified but we wanted to make sure that there was enough alginate powder for everyone. So, after asking around, we determined that there was one more group that wanted to use the alginate powder and made sure to leave enough for them. We also shared with them what we learned + tips to ensure their run goes smoothly. With out last and final attempt, we erred on the side of caution. We decided to do 80% cold water and 20% warm water to ensure that we had enough time to mix everything. This time, we were able to actually make it into a smooth consistency, which we weren't able to do so before. Once it was smooth, we put our hands in to harden.
--> We noticed that because we had more time to put our hands in this time, we were able to cover more of our hands. This was reflected later on after we poured in the plaster.
This is what our hands looked like with the mold liquid around our hands
This is what the molds looked like once hardened.

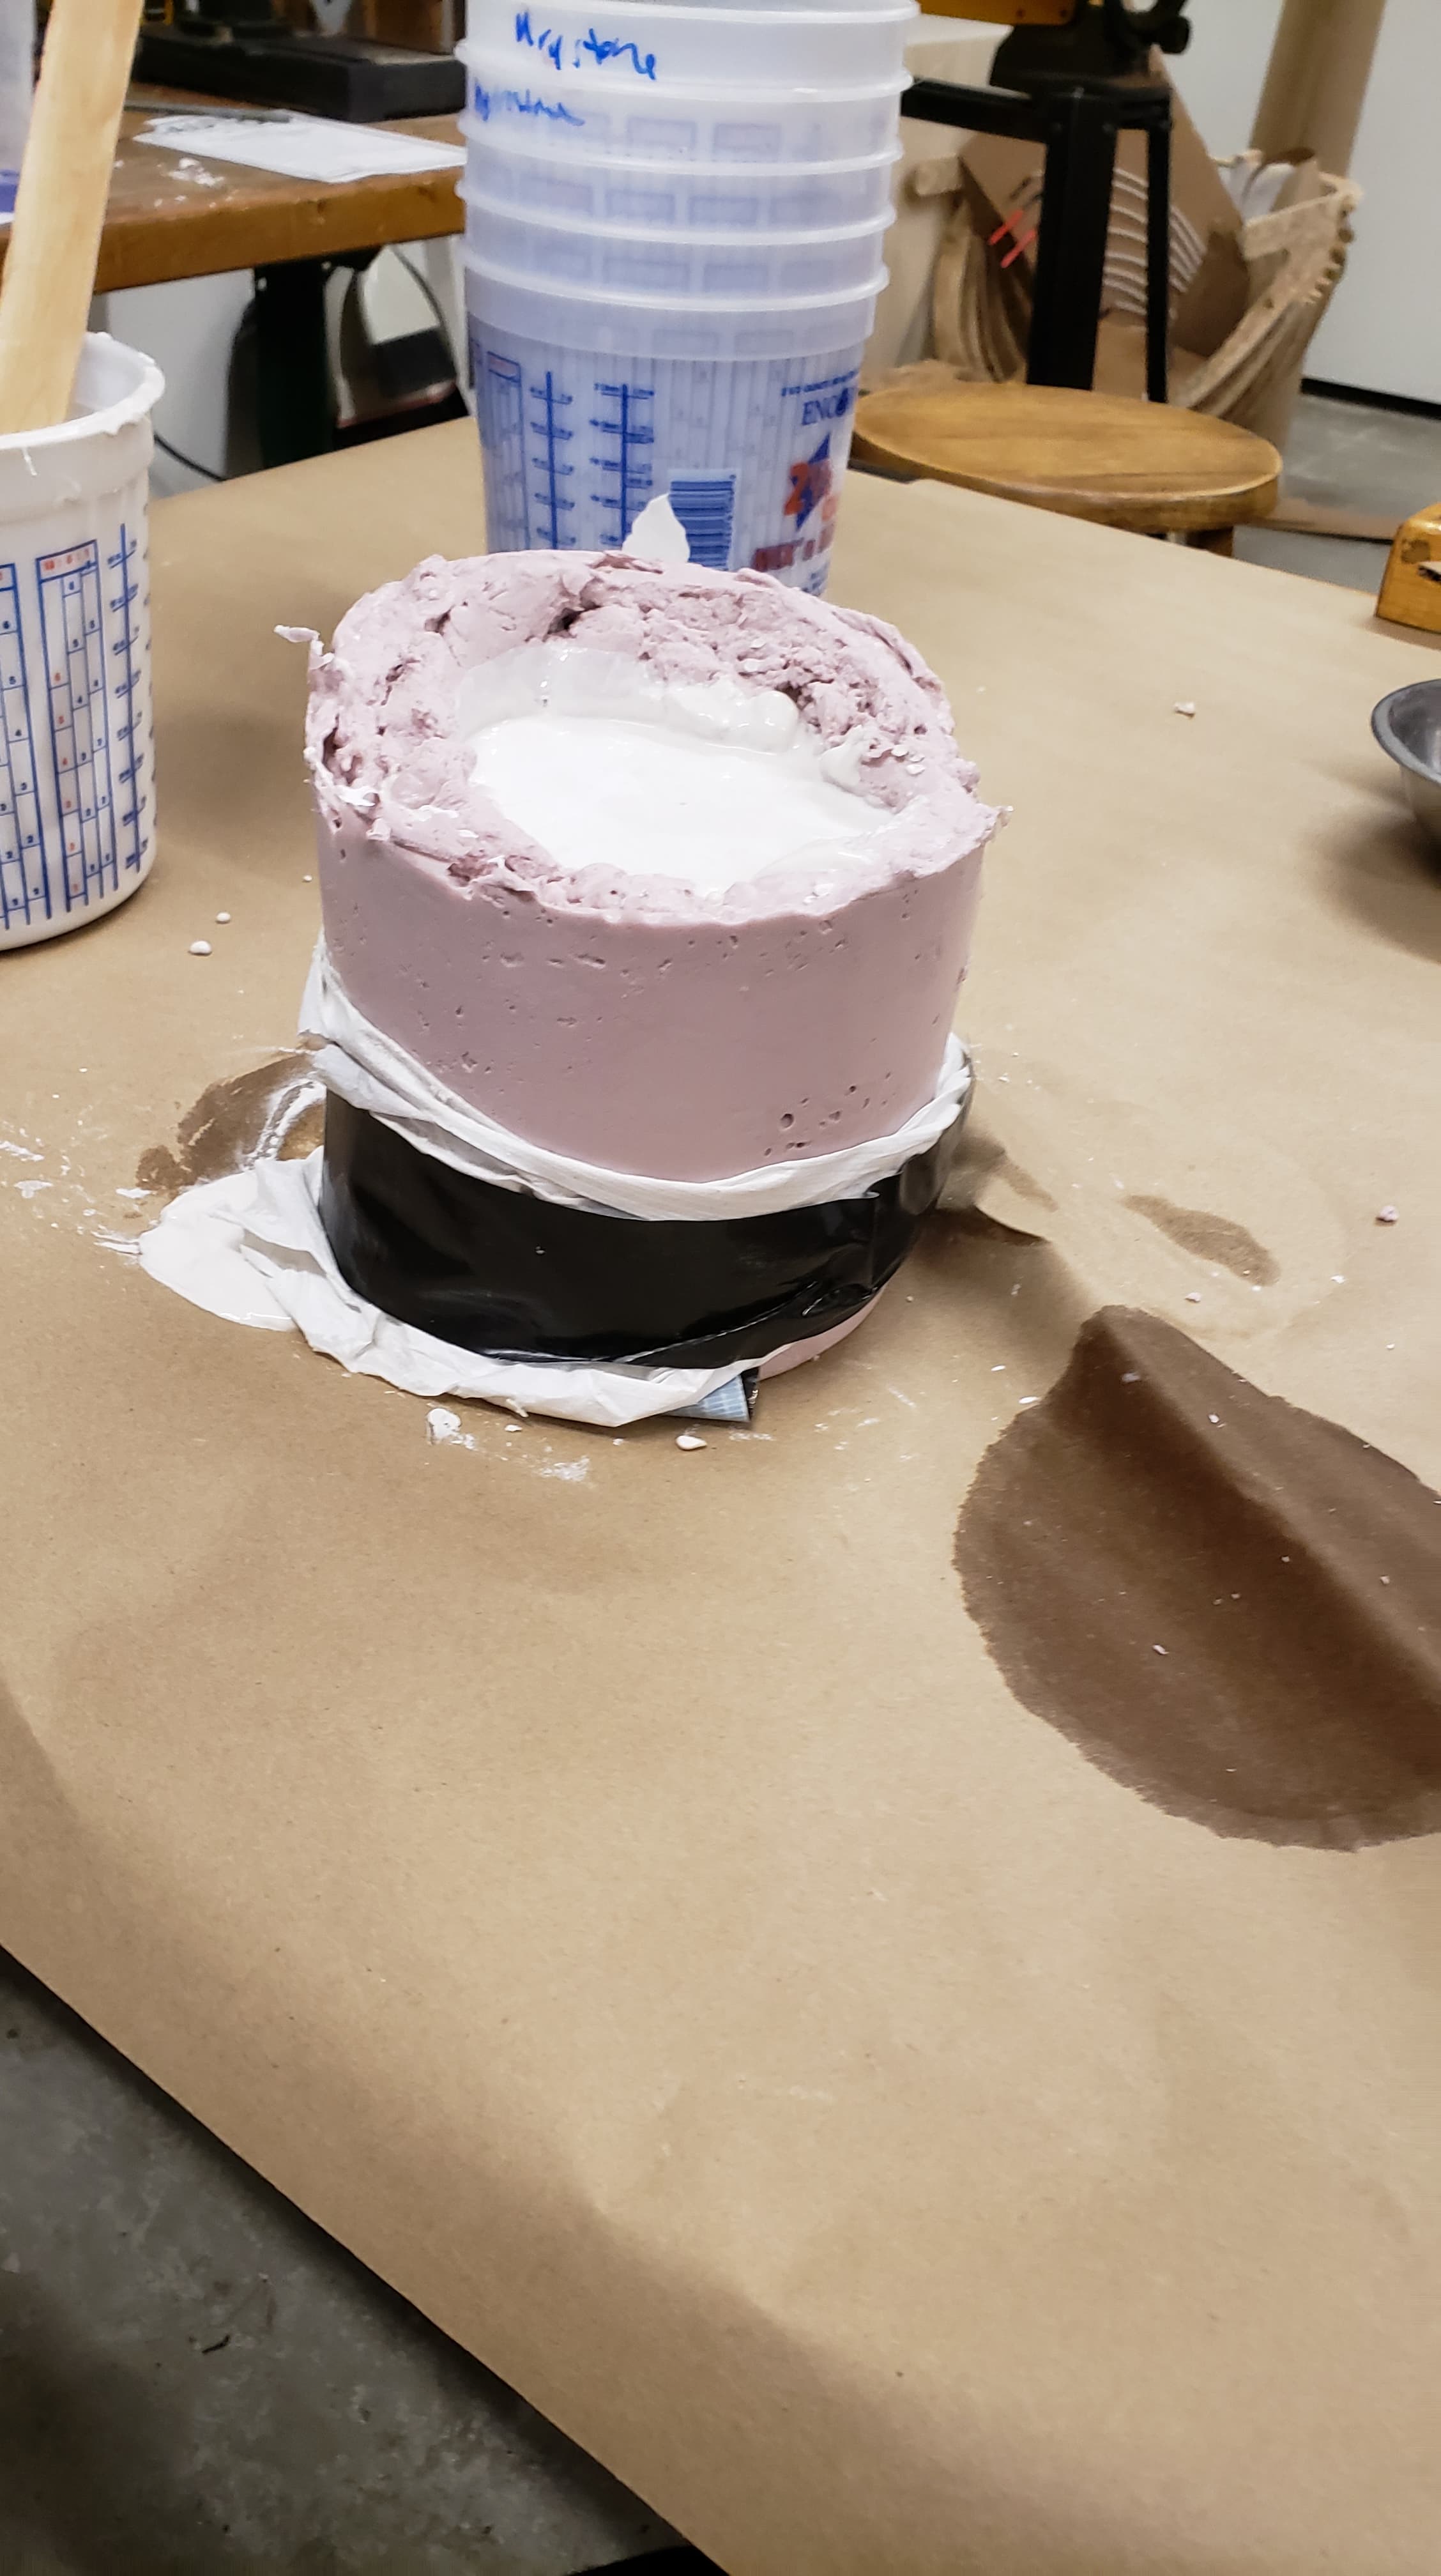
Filling in the plaster
There were two types of plaster: hydrostone and drystone. I decided to test one version with the hydrostone and one version with the drystone. The hydrostone required (by weight) 32 parts of water for 100 parts of the powder. The drystone required (by weight) 18-20 parts (I used 20) of water for 100 parts of the powder. Then, the easier process would be used for third (ideally most perfect) mold.
After the difficulty mixing the alginate mold (pink-purple powder) with water, we tried to see if could get a mixer but we still couldn't find one (CVS also ran out). For future reference, you could attach a spoon to a drill. Despite the container of the drystone and hydrostone suggesting us to mix by a mixer, we mixed by hand. Mixing by hand was much easier for the plaster than it was for the alginate mold. Honestly, mixing both was relatively easy. Thus, I decided to fill up the first mold we made with the drystone, and the other two with the hydrostone.
To note, the alginate mold indicated that we should fill in the plaster within 4 hours; after 4 hours, the alginate mold would begin to degrade.
I then filled the three molds with the respective plaster combination.
Afterwards, I waited for the plaster to dry. You could tell when the plaster is dry because the top becomes matte and when you shake it, there is no liquid sound. I also gently patted the top where I poured in the liquid and it was dried
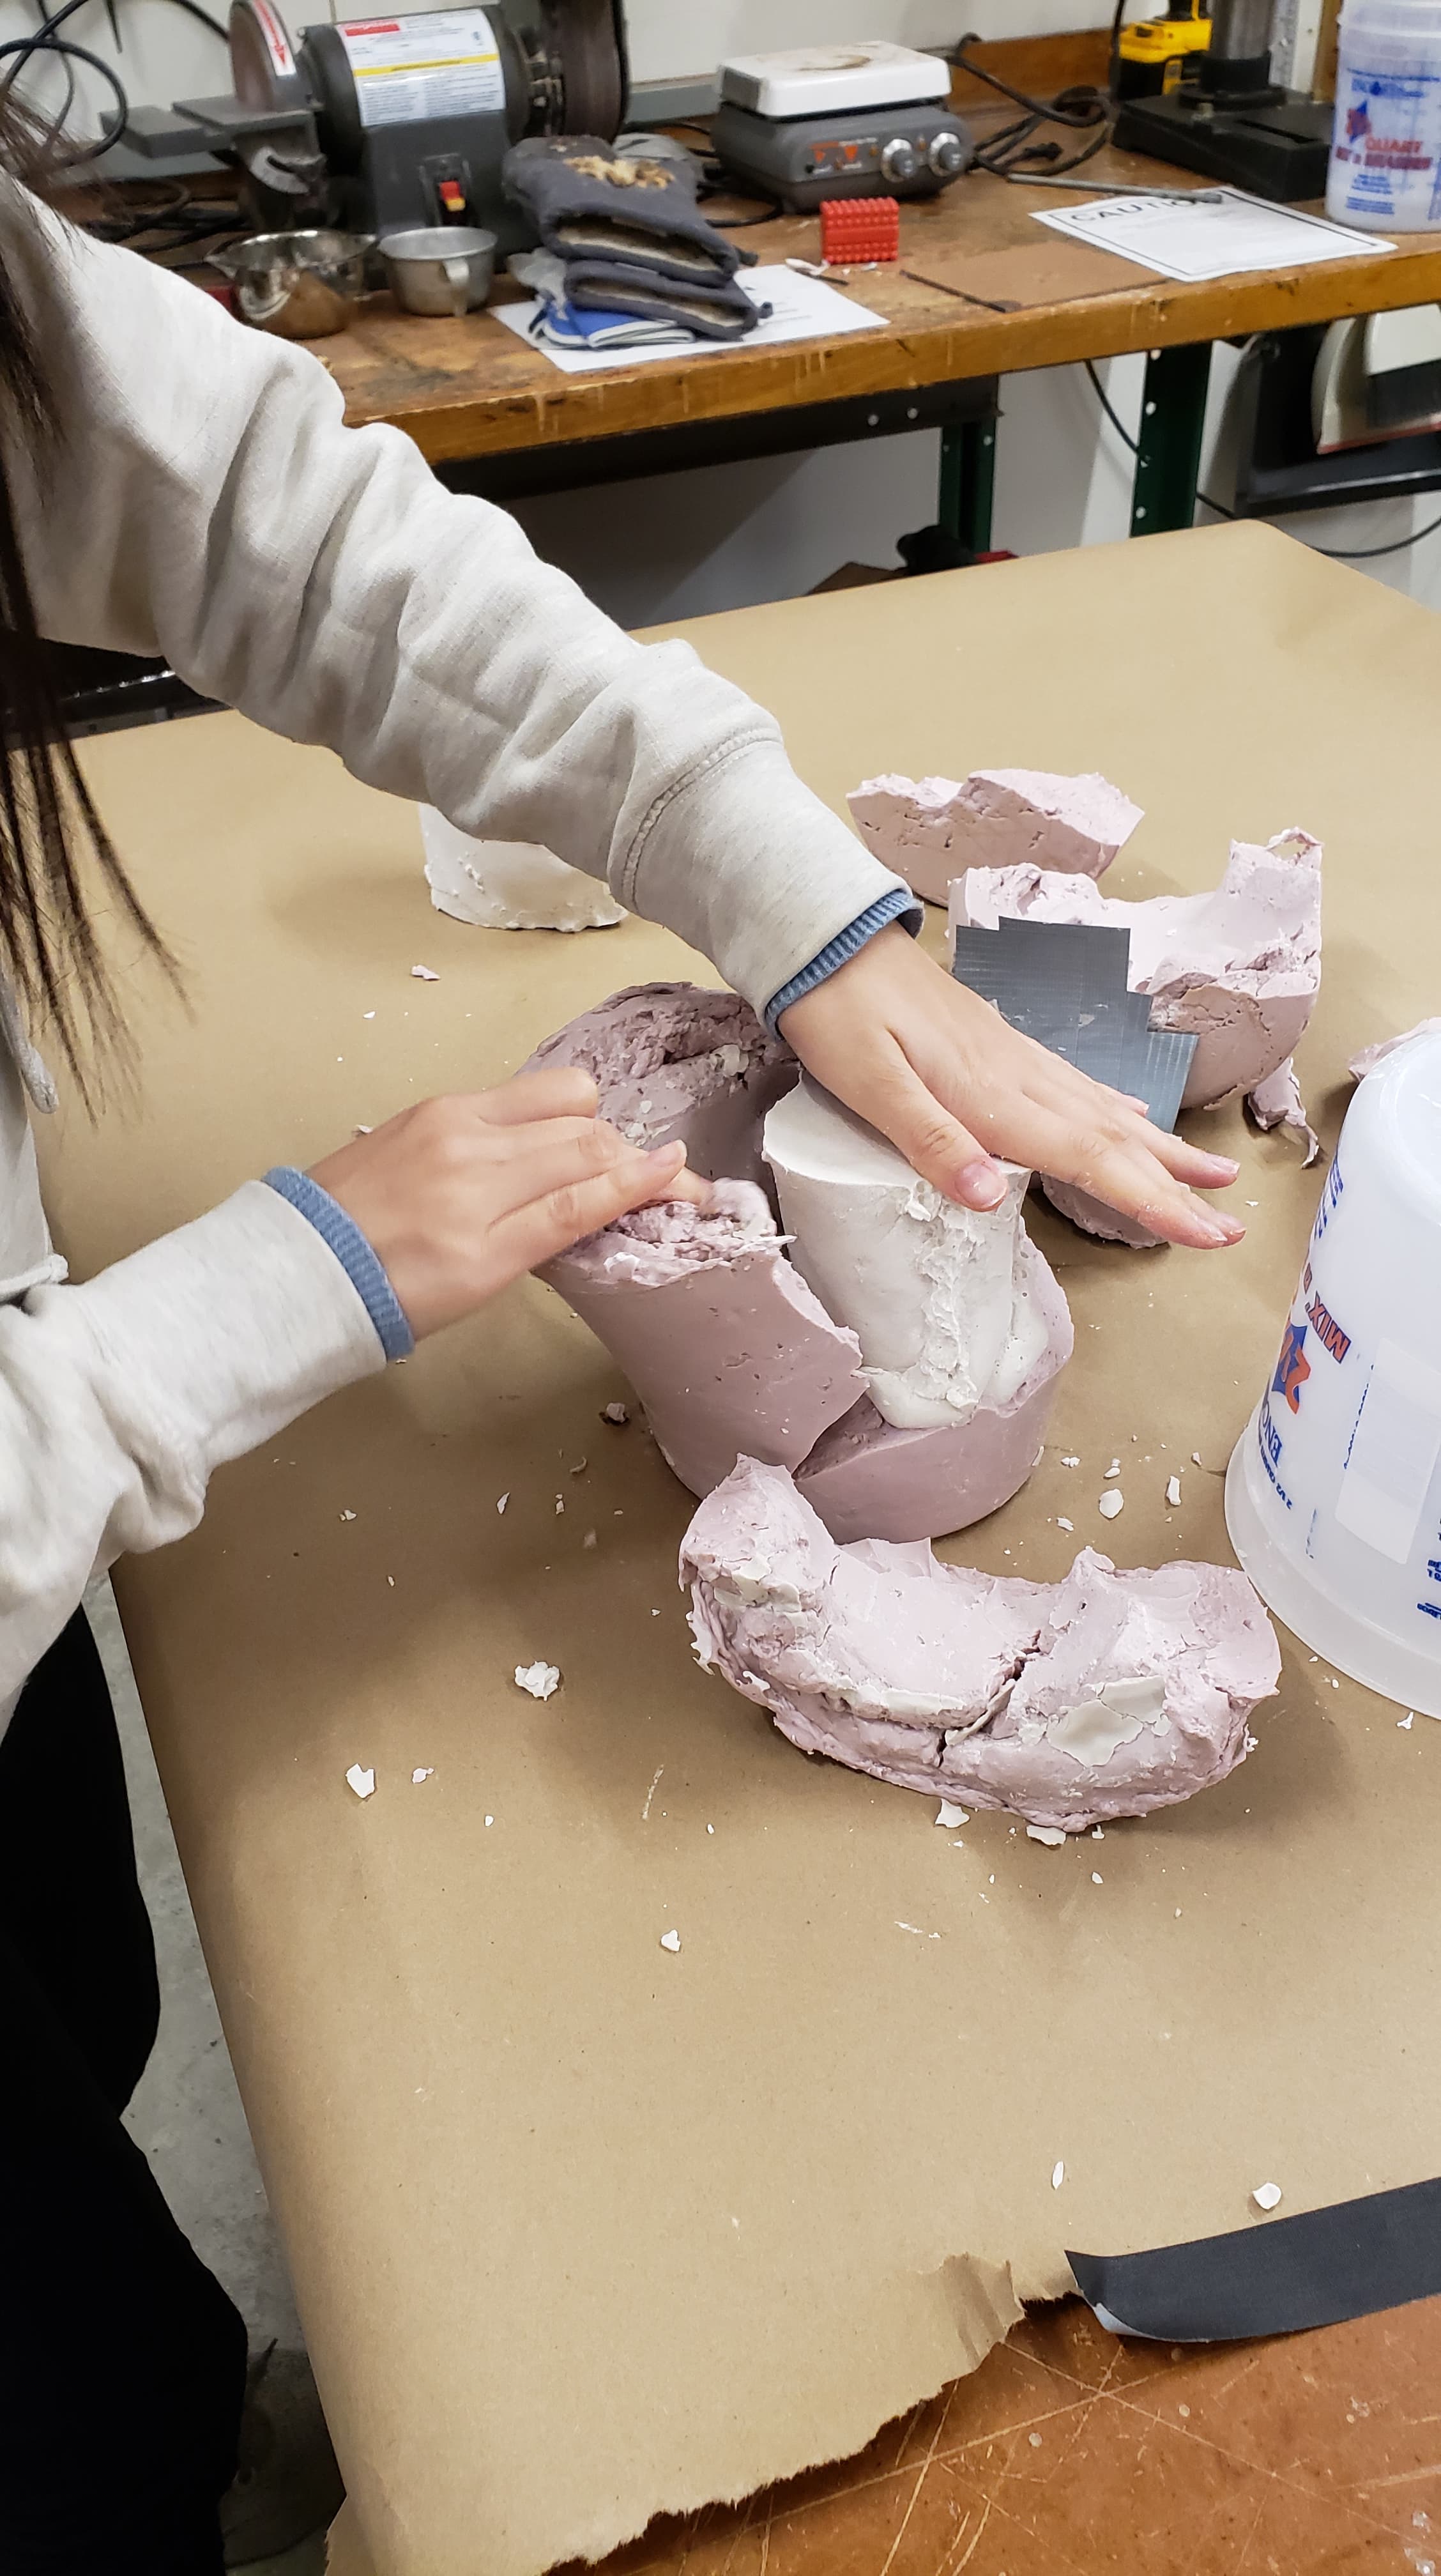
This is what the first mold looked like with the duct tape around it, and I turned it around to try to get the hand out.
Here is what peeling the plaster hands process looks like. It was pretty satisifying. The peeling process was quite easy and the alginate came out in chunks. I used an exacto knife to make the process easier. It was a little watery so I'm glad we had the paper underneath to soak up the liquid.
Here is what the plaster hands looked like at the end.
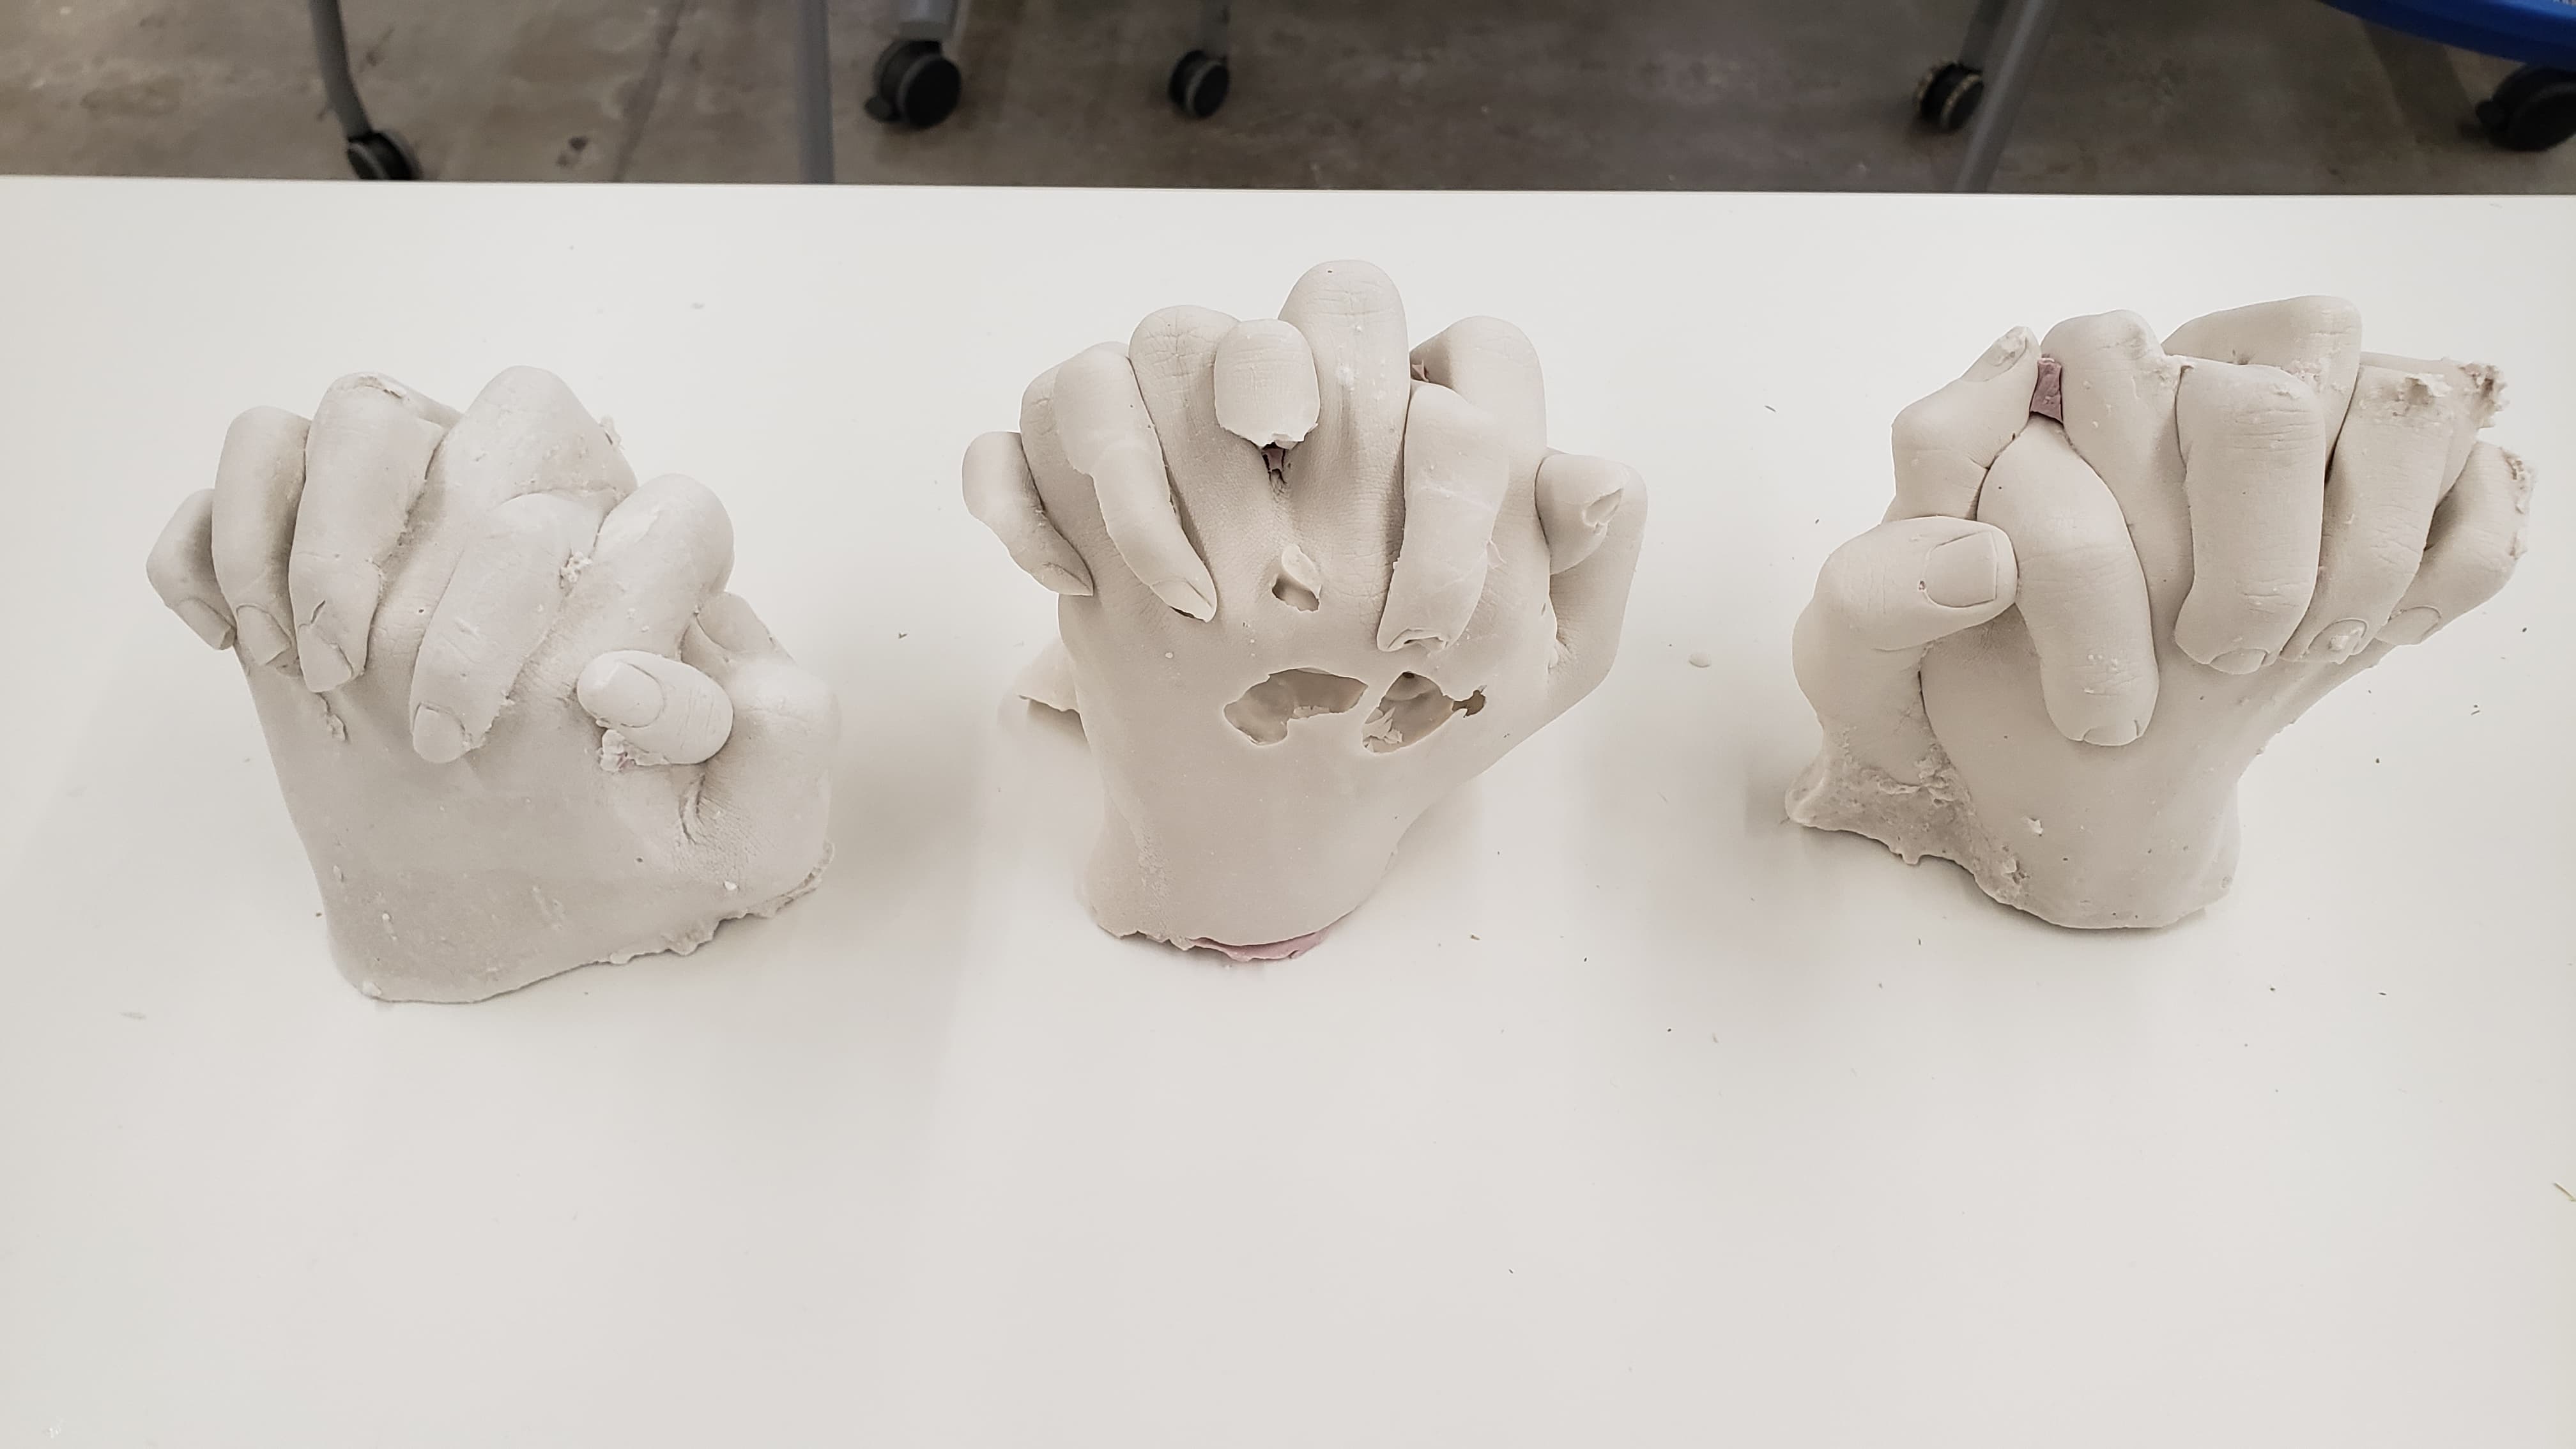
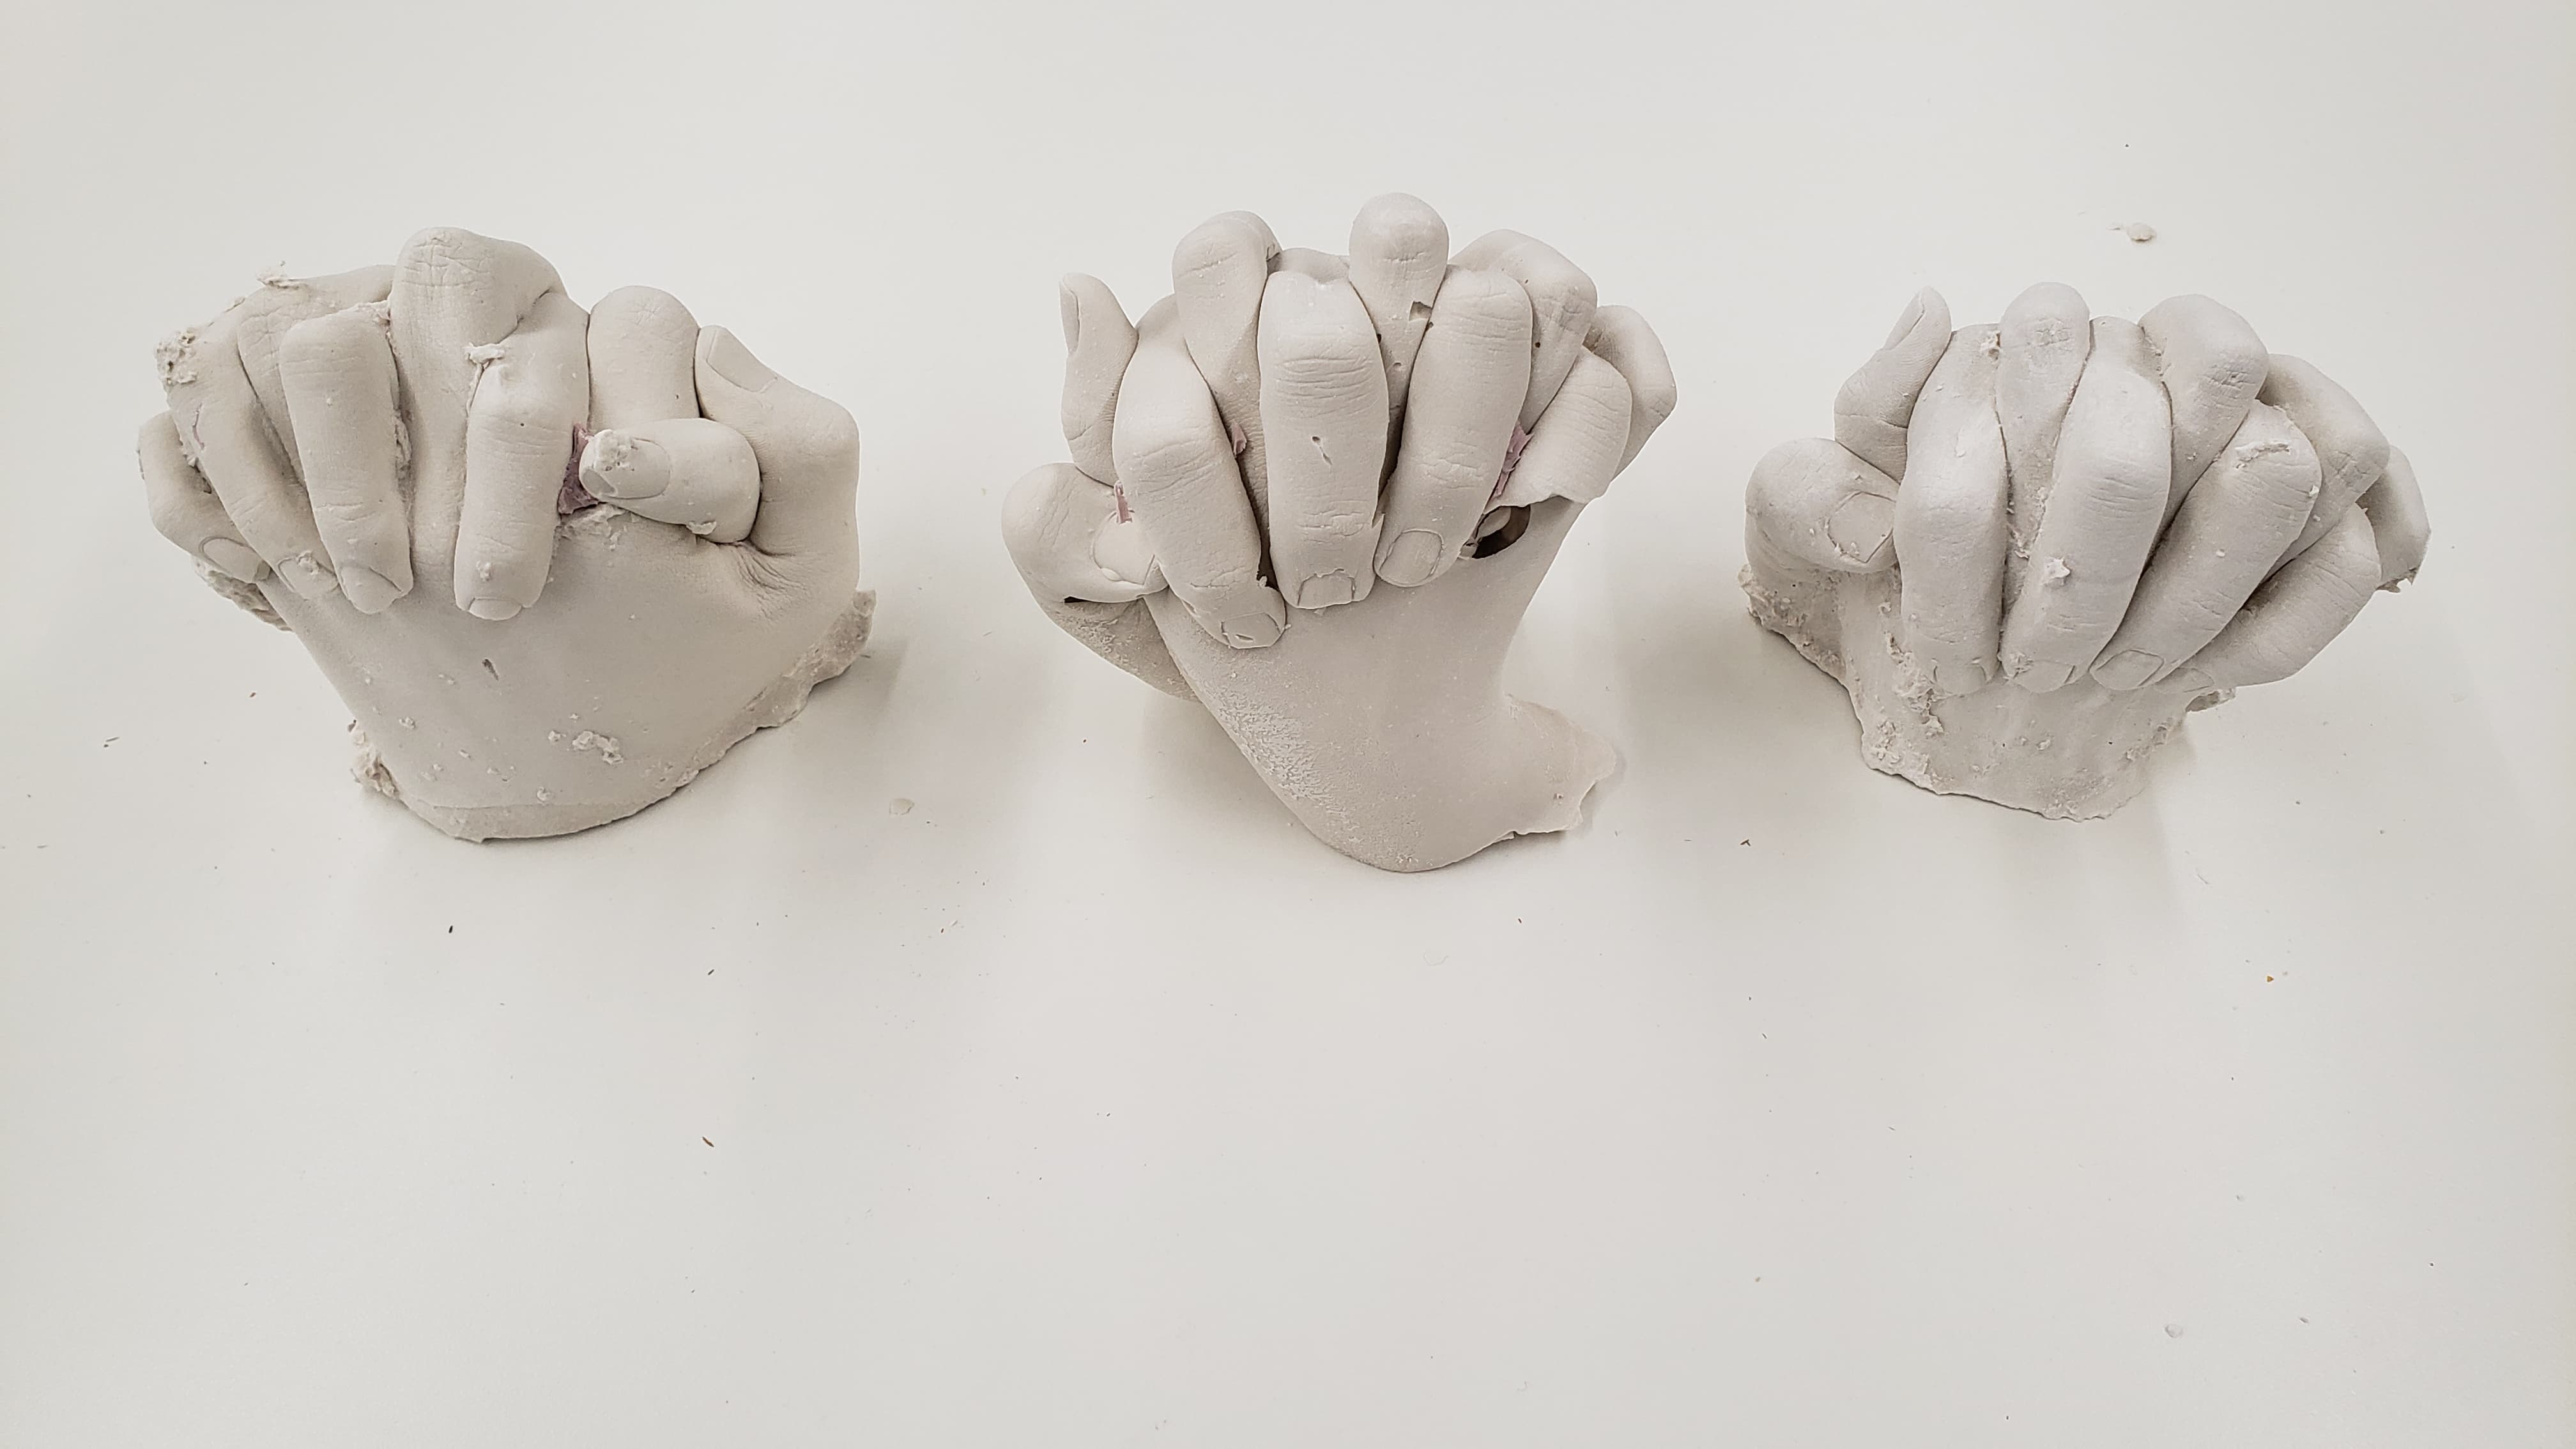
The one in the middle is the one I did last. Although it was smoother and had a better hand shape/covered more of the wrist, it's noted that there are more holes in it. The other ones were more rough but didn't have as many holes in it.
These imperfections are presumably due to air bubbles/difficulty in pouring to cover every crevice. Overall, I'm really happy with the way it turned out!